Summary:
What Happens Before Construction Even Starts
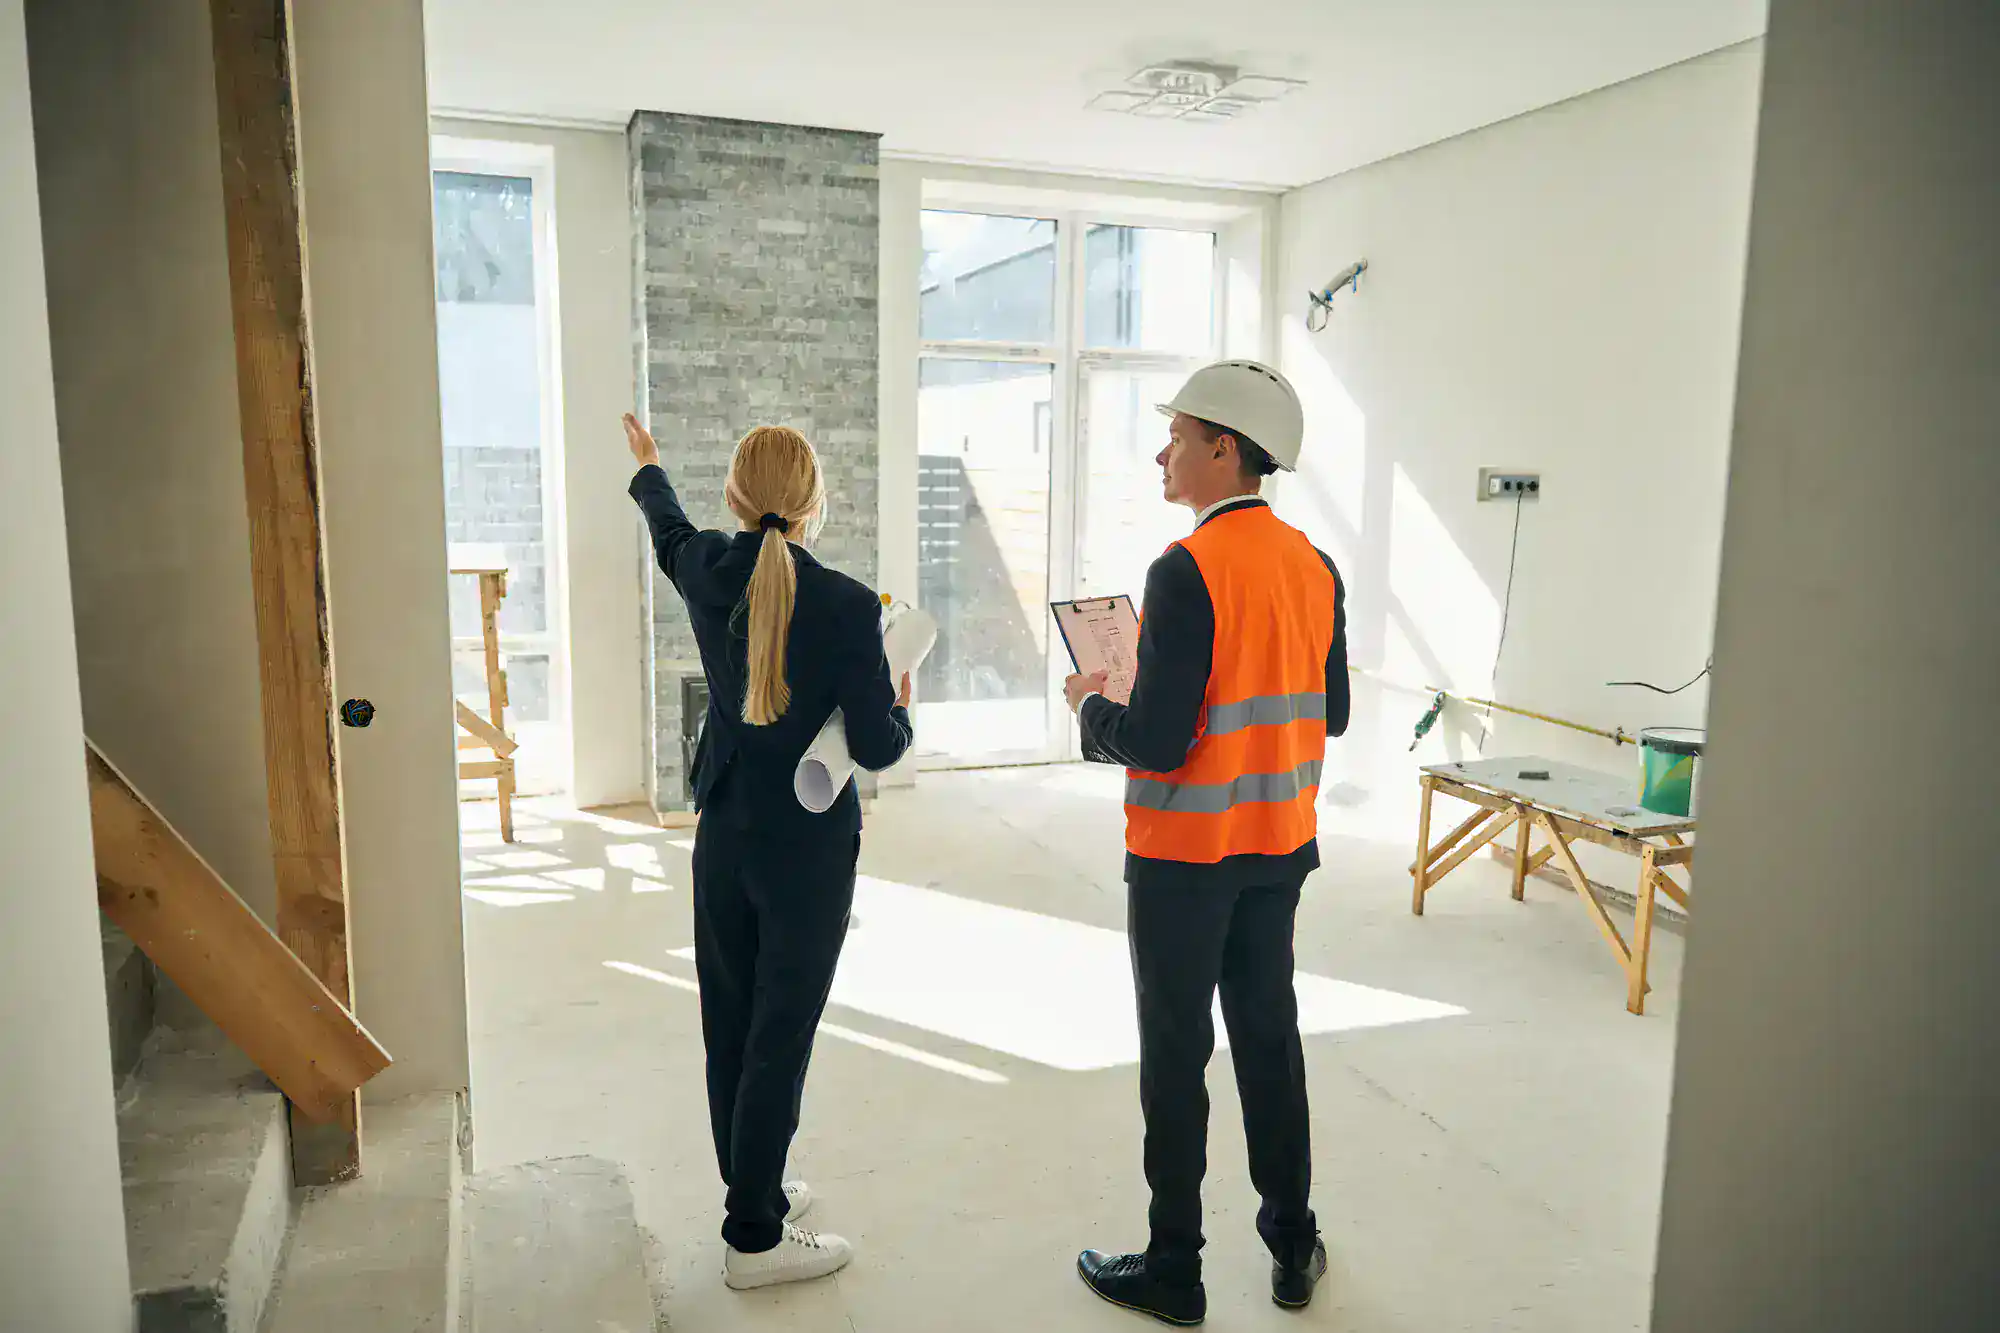
The real work begins long before anyone picks up a sledgehammer. You’re meeting with general contractors, making design decisions, and figuring out if your budget matches your Pinterest board.
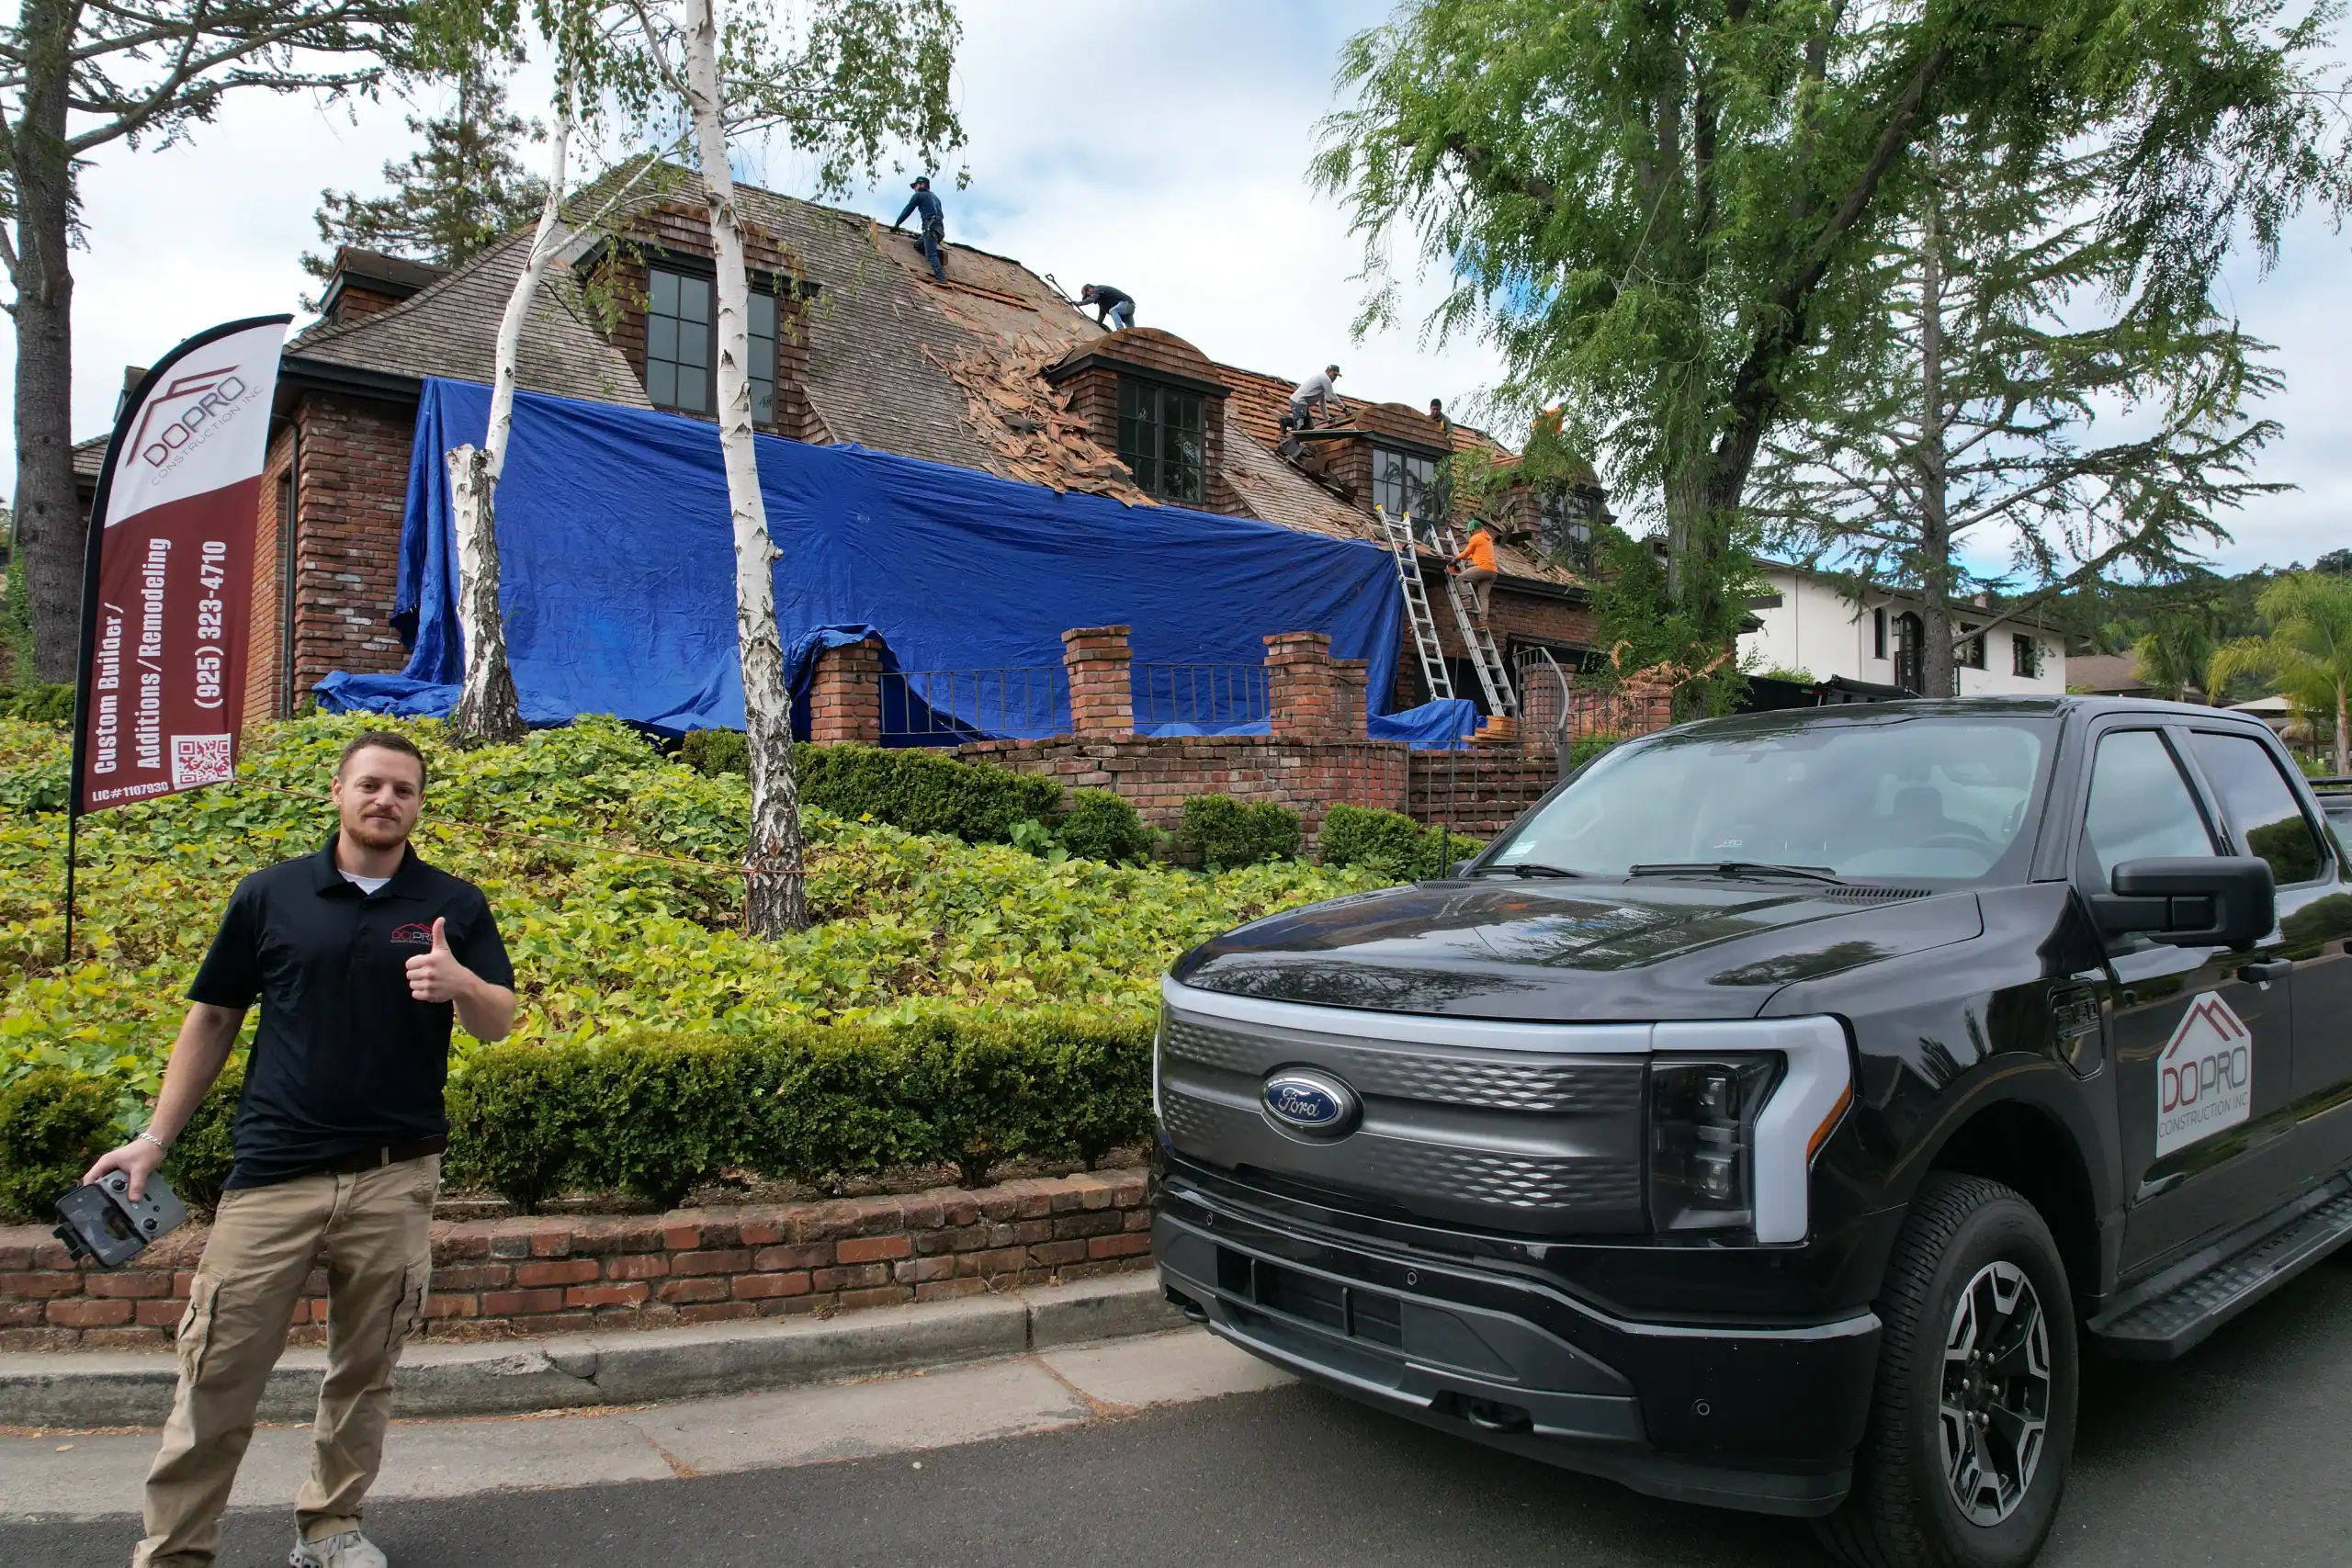
For us, this phase took about three weeks. We met with DoPro Construction, walked through what we wanted, and got a realistic picture of costs. No vague estimates or “we’ll figure it out later” nonsense—just clear numbers and a timeline we could actually plan around. Their BBB accreditation and 40 years of experience gave us confidence we weren’t dealing with fly-by-night remodeling contractors.
The permit process added another two weeks. Contra Costa County, CA has specific requirements for bathroom remodels, especially when you’re moving plumbing or electrical. Our project manager handled all of that, which saved us from drowning in paperwork and city office visits.
Making Decisions Without Losing Your Mind
Here’s something they don’t show you on HGTV—the sheer volume of decisions you’ll need to make. Tile for the floor. Tile for the shower. Grout color. Vanity style. Faucet finish. Lighting fixtures. Mirror. Toilet.
Every single choice feels important because it is. You’re going to look at this bathroom every single day.
The decision fatigue is real. I’d come home from work, and my partner would ask about shower tile options, and my brain would just shut down. We learned quickly to tackle decisions in small batches rather than trying to choose everything in one marathon session.
What helped most was working with home remodelers who’d done this hundreds of times. When we couldn’t decide between two tile options, our project manager would say something like, “The porcelain holds up better in Bay Area humidity, and it’s easier to clean.” Suddenly, the decision felt less overwhelming because someone was giving us actual information instead of just showing us more samples.
We also learned to identify our “must-haves” versus “nice-to-haves.” The walk-in shower with good water pressure? Non-negotiable. The fancy rain showerhead? We could live without it if budget got tight. Having that clarity made every subsequent decision easier.
One thing I wish someone had told us earlier—take photos of bathrooms you like and bring them to your initial meetings. It’s way easier to point at a picture and say “something like this” than to describe your vision with words. We wasted time in the beginning trying to verbally explain what we wanted when a few photos would have communicated it instantly.
The Real Cost of a Bathroom Remodel in Contra Costa County
Let’s talk money, because this is probably what you’re most worried about. Our mid-range bathroom remodel in Contra Costa County, CA came in around $32,000. That included everything—demo, new plumbing and electrical, tile work, a custom vanity, new fixtures, and labor.
Bay Area costs run higher than national averages. Labor alone ate up about 40% of our budget, which is typical here. Skilled tradespeople cost more in this market, but they also understand local building codes and get the work done right the first time.
We set aside a 15% contingency fund for unexpected issues. Smart move. When the walls were opened up, we discovered old plumbing that needed updating to meet current code. That contingency fund meant we didn’t panic when the project manager explained what needed to happen.
Material choices drive costs more than you’d think. We went with mid-range porcelain tile instead of natural stone, which saved us about $3,000 without sacrificing the look we wanted. The custom vanity cost more than a prefab option, but it fit our weird wall dimensions perfectly and added storage we actually use.
Permits in Contra Costa County ran us about $800. Some people try to skip this step to save money. Don’t. When you sell your house, unpermitted work can tank your sale or force you to rip everything out and start over. Our contractor handled all the permitting, which was worth every penny in saved headaches.
One surprise cost—we needed to upgrade our bathroom’s electrical to handle the new lighting and ventilation fan. Added about $1,200 to the project, but it was necessary for code compliance. This is the kind of thing you discover once walls are open, which is why that contingency fund matters.
Looking back, we’d budget the same way again. The transparency around costs meant no shocking bills halfway through. We knew what we were spending and why. That assurance is worth something, especially when you’re already dealing with the stress of living through construction.
Week-by-Week Reality Check: What Happens During Construction
Now we’re getting to the good stuff—or depending on your perspective, the chaotic stuff. Construction started on a Monday morning. Our project manager had warned us it would get messy before it got better. He wasn’t kidding.
The timeline for a standard bathroom remodel in Alameda County, CA or Contra Costa County typically runs 4-6 weeks once construction begins. Ours took five weeks from first swing of the sledgehammer to final walkthrough. Here’s how it actually went down, week by week.
Week 1-2: Demo, Rough-In, and Second-Guessing Everything
Demo day feels both exciting and terrifying. Watching someone take a sledgehammer to your bathroom creates this weird mix of “this is really happening!” and “oh god, what have we done?”
The demolition itself took about four hours. The team removed the old vanity, toilet, tub, tile—everything down to the studs. The dust was unbelievable. Even with plastic sheeting everywhere, it found its way into other rooms. Pro tip: keep your bedroom door closed and stuff a towel under it.
Once the space was gutted, the plumbing and electrical rough-in began. This is where licensed professionals earn their money. Our plumber rerouted some pipes to accommodate the new layout, and the electrician added outlets and updated the wiring to current code. This phase took about a week.
We had to use the downstairs half-bath during this time. Not ideal for a family of four, but manageable. We set up a temporary “getting ready station” in our bedroom with a mirror and good lighting. It felt like camping in our own house.
The inspection happened at the end of week two. Our project manager scheduled it, met the inspector, and handled any questions. Everything passed on the first try, which meant we could move forward without delays. This is where working with experienced bathroom remodelers really matters—we know exactly what inspectors look for.
By the end of week two, we had new plumbing, updated electrical, and a bathroom that looked like a construction zone. The walls were still open, showing all the guts of the room. It’s hard to visualize the finished product at this stage, which is why those weekly photo updates from our project manager helped so much. He’d show us similar projects at this phase and what they looked like completed.
The hardest part of these first two weeks was the noise. Sawing, drilling, hammering—it’s loud. If you work from home, plan to relocate during construction hours. We ended up going to coffee shops or the library when we needed quiet for calls.
Week 3-5: Watching It Come Together (Finally)
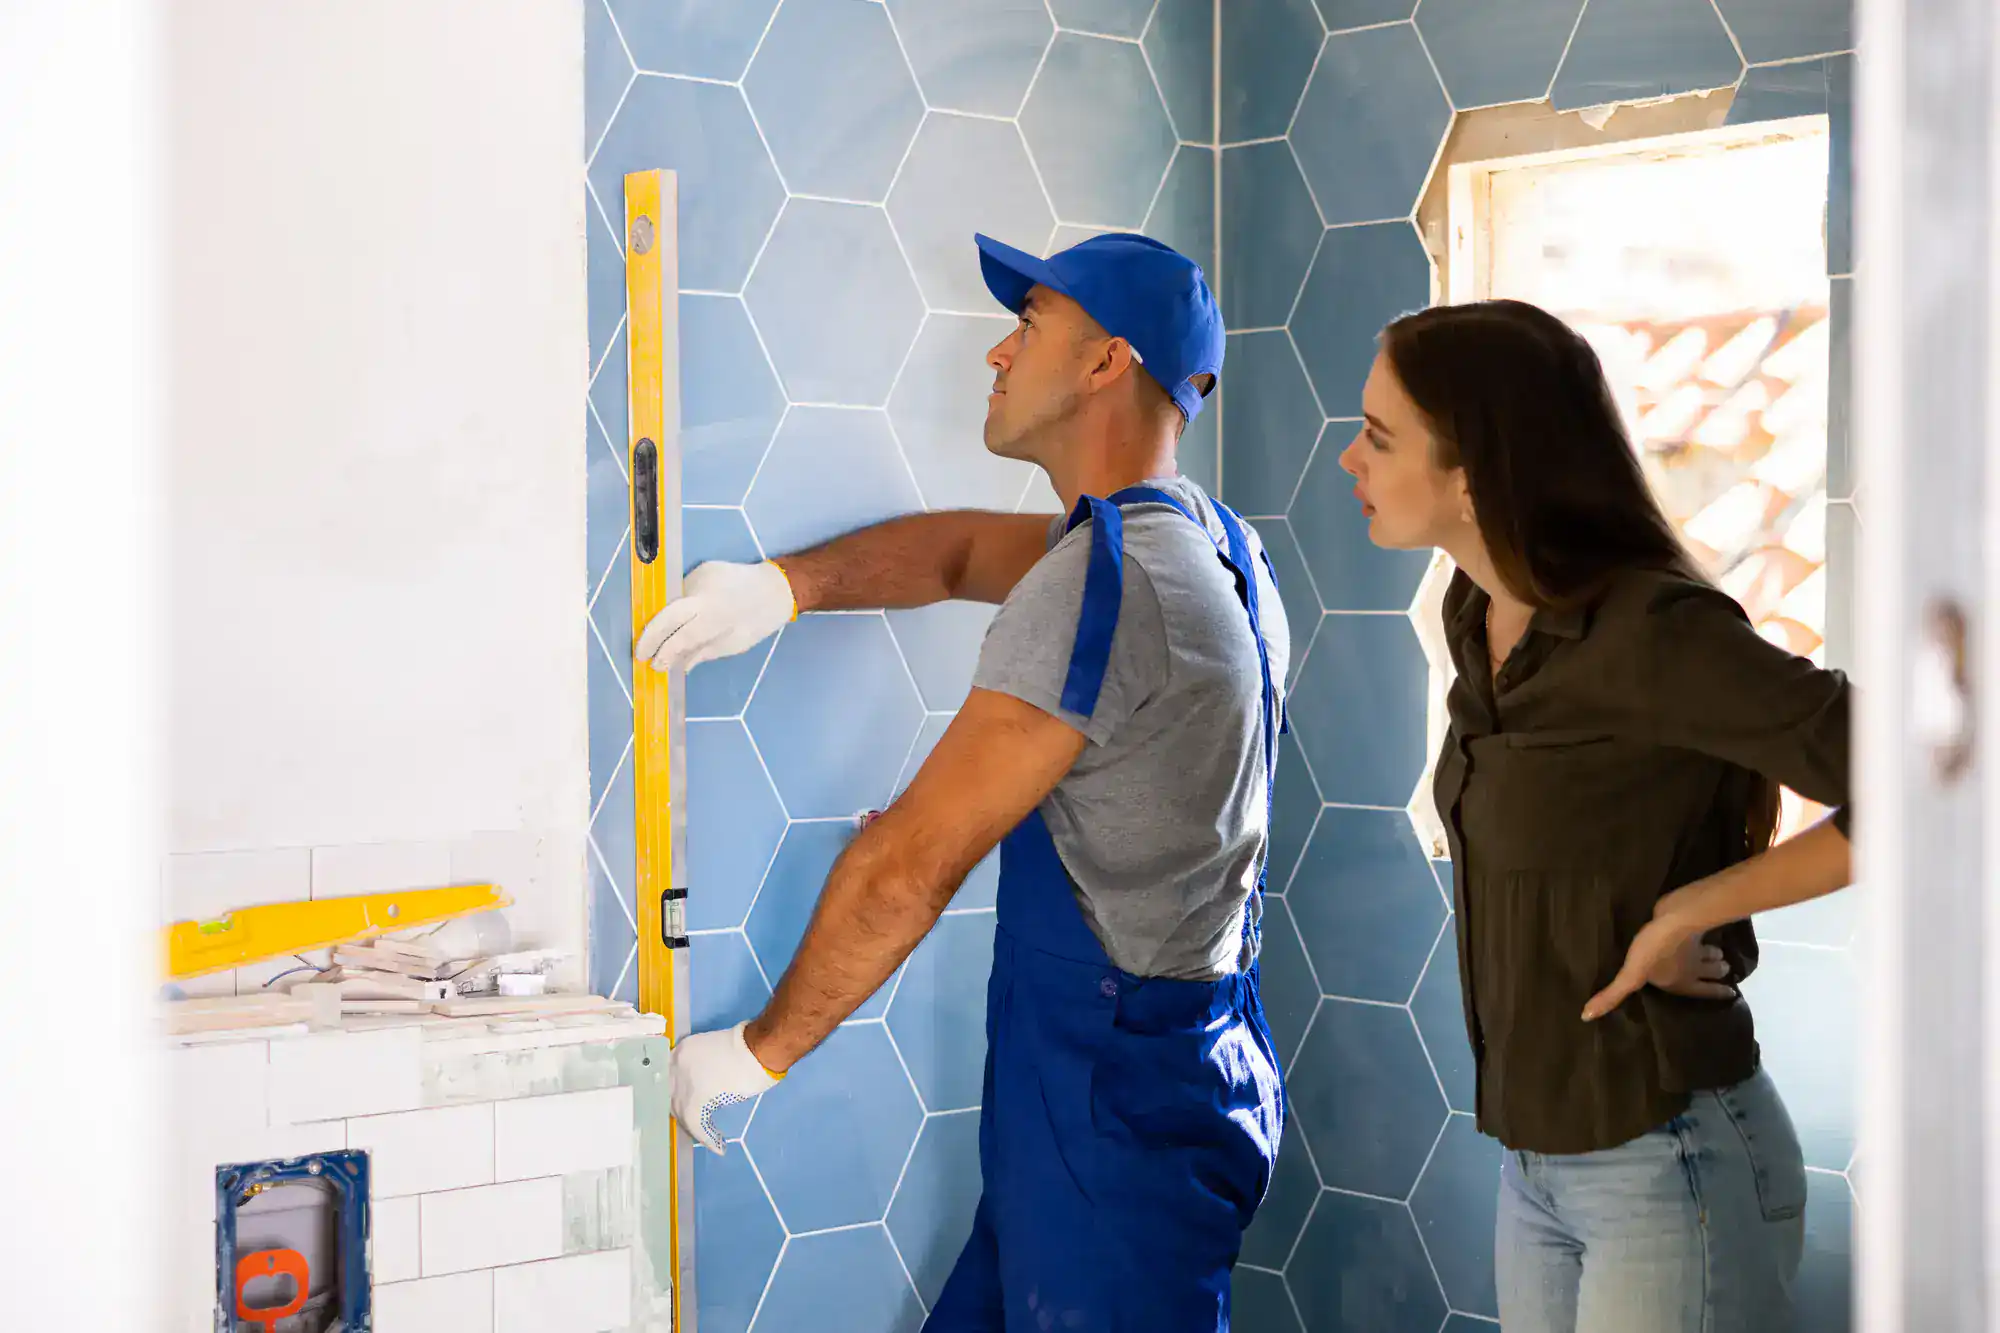
Week three is when things started looking like an actual bathroom again. The tile installation began, and suddenly we could see our design choices coming to life. Our tile installer worked methodically, starting with the shower walls, then moving to the floor.
Tile work takes time. Each piece needs to be cut precisely and set properly. Rushing this phase leads to crooked lines and grout problems down the road. Our installer spent three full days just on the shower area. Watching him work was kind of mesmerizing—the precision and care he took with each tile.
The grout went in at the end of week three. We’d agonized over grout color for way too long, but seeing it installed confirmed we’d made the right choice. The darker grout we chose hides staining better than white would have, which matters when you have kids.
Week four brought the fun stuff. The vanity arrived and got installed. Seeing that custom piece in place made the whole room feel intentional. The countertop went on, then the plumbing fixtures got connected. We could finally see the sink and faucet we’d chosen working in the actual space.
The toilet installation happened faster than expected—maybe an hour. But getting it positioned correctly and guaranteeing proper sealing took precision. Nobody wants to deal with leaks after the project’s done.
Painting happened in week four too. The paint color we’d tested on sample boards looked different on full walls, but in a good way. The lighting made a huge difference in how the color appeared, which is why our project manager had recommended testing samples at different times of day before committing.
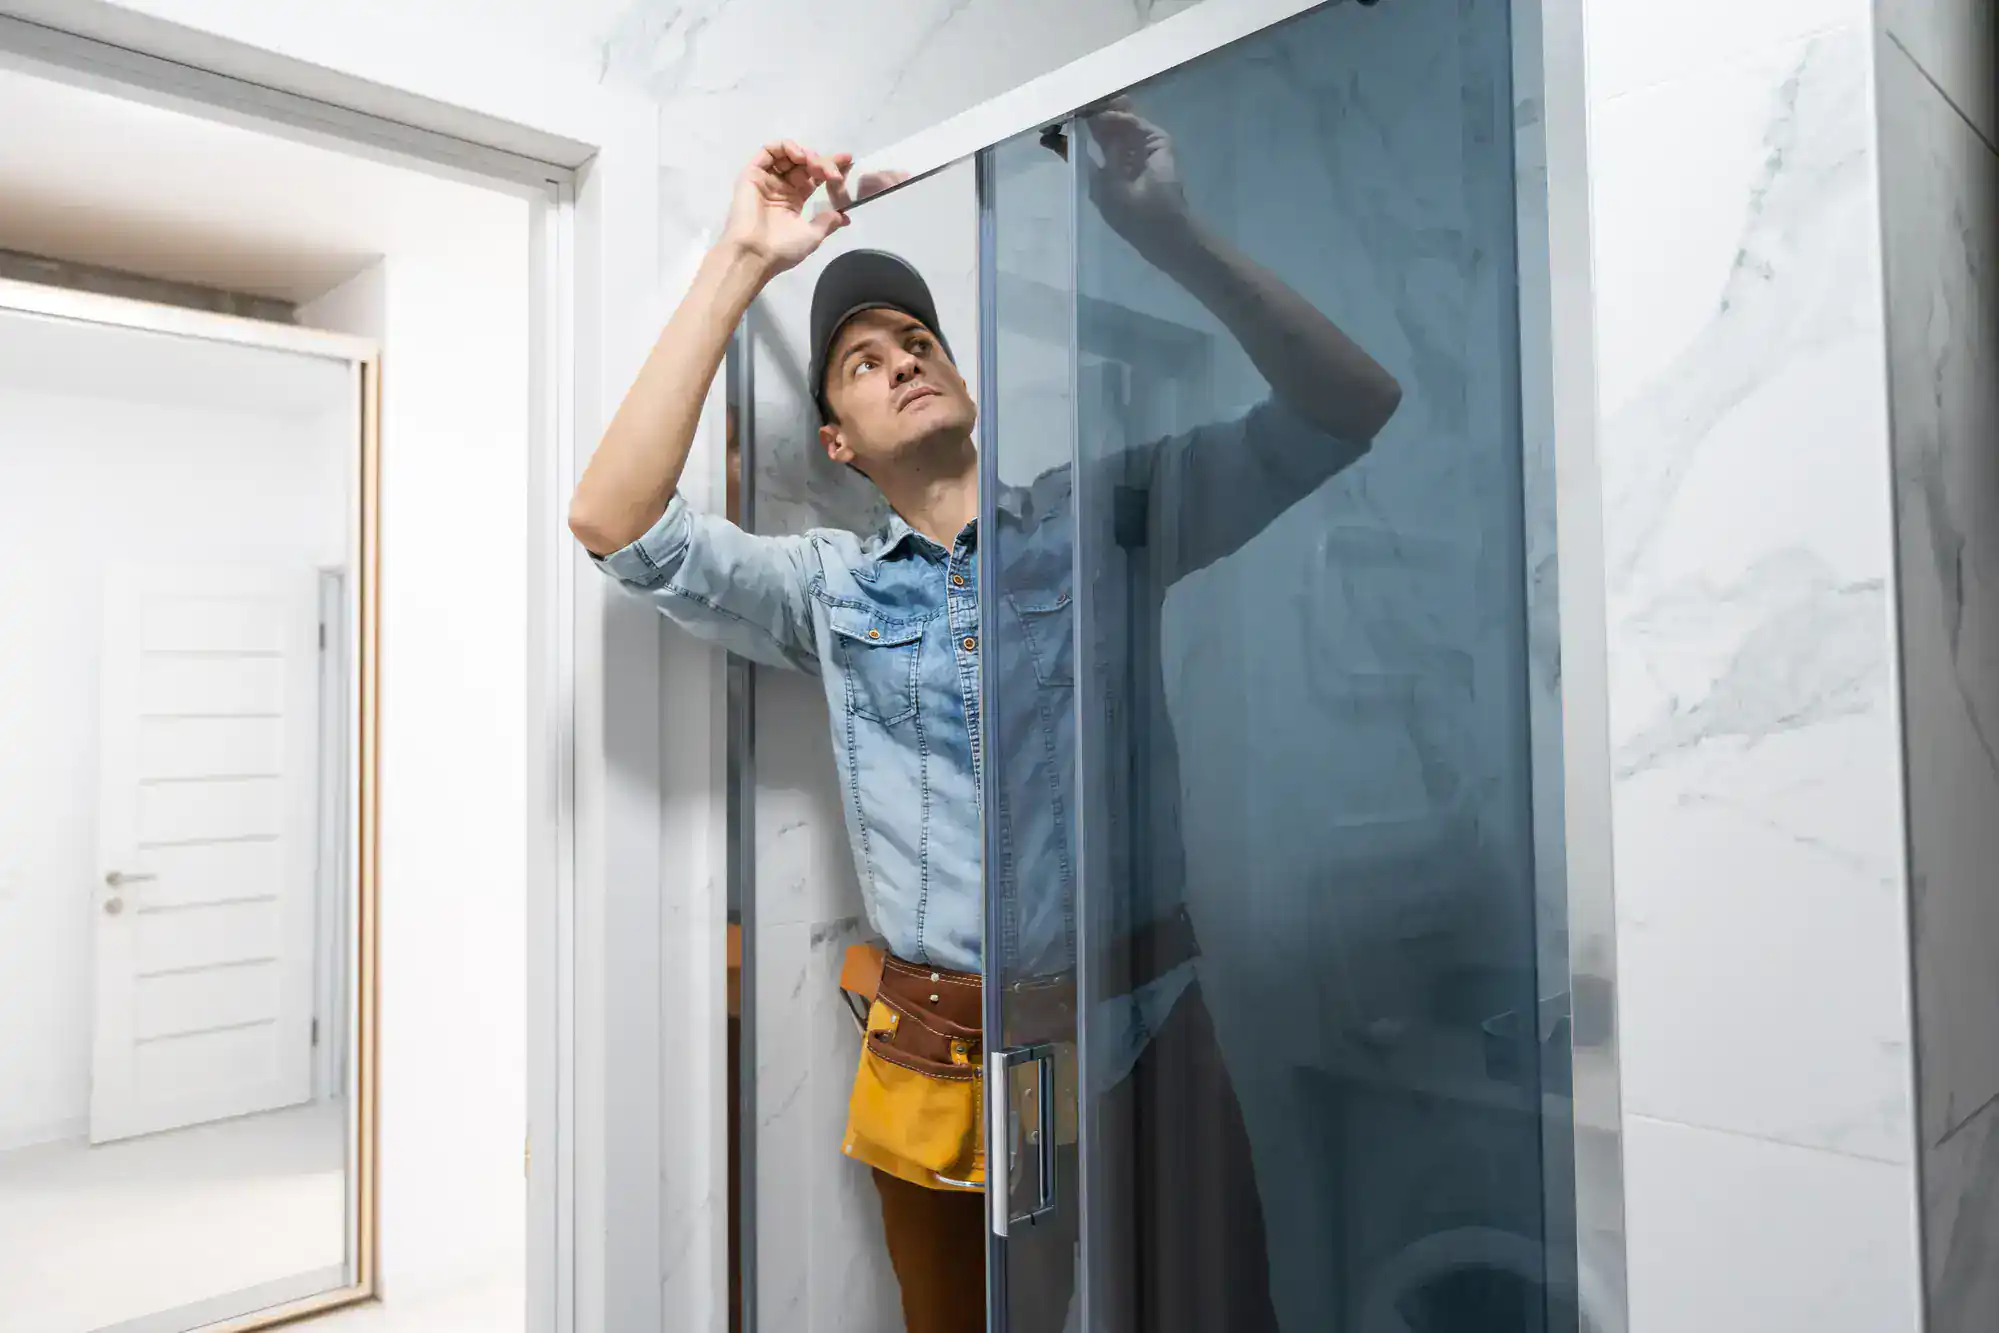
Week five was all about finishing touches. Light fixtures went up. The mirror got mounted. Final grout sealing. Touch-up paint. The glass shower door installation. Each day, the bathroom looked more complete and less like a construction project.
The final walkthrough happened on a Friday afternoon. Our project manager went through everything with us, making sure we understood how everything worked and answering our questions. We’d even done the optional cleaning service, so the bathroom was spotless and ready to use immediately.
Standing in our finished bathroom, I’ll admit—I got a little emotional. Five weeks of chaos, dust, and disruption had resulted in a space that worked for our family. Better lighting for getting ready in the morning. Storage that made sense. A shower that didn’t leak or have sketchy grout. It wasn’t just prettier—it was genuinely more functional.
What I Wish I'd Known Before Starting Our Bathroom Remodel
If you’re reading this because you’re about to start your own bathroom remodel in Contra Costa County, CA or Alameda County, CA, here’s what I’d tell you over coffee.
First, the stress is temporary, but the results last for years. Yes, you’ll have moments where you question everything. Yes, the dust and noise and disruption get old. But when it’s done, you’ll have a bathroom that works for how you live. Regardless of if you’re tackling kitchen remodeling next or considering a garage conversion down the road, the same principle applies—the right team makes all the difference.
Second, the contractor you choose matters more than any other single decision. We went with DoPro Construction because we had the licenses, experience, and that Never Get Burnt Guarantee that meant we didn’t pay anything upfront. That last part gave us assurance when we were handing over a significant chunk of money for this project.
Third, communication makes or breaks the experience. Weekly updates, quick responses to questions, and someone who explains things clearly—that’s what turns a stressful remodel into a manageable one. We never felt in the dark about what was happening or when things would be done.
The bathroom remodel wasn’t easy, but it also wasn’t the nightmare I’d feared based on other people’s horror stories. Having the right team made all the difference. If you’re in the Bay Area and thinking about finally tackling that outdated bathroom, reach out to us at DoPro Construction. We’ll give you a realistic timeline, transparent pricing, and a team that shows up when we say we will.