You’ve seen vinyl plank flooring in showrooms. It looks like real hardwood, costs half as much, and promises to handle everything your family throws at it—spills, scratches, pet accidents, heavy traffic. But here’s what most homeowners don’t realize until it’s too late: the difference between vinyl flooring that performs beautifully for 20 years and flooring that starts cupping, gapping, or buckling within months comes down to installation.
Over 80% of vinyl plank failures aren’t product defects. They’re installation mistakes—uneven subfloors, skipped moisture tests, inadequate acclimation, missing expansion gaps. Small oversights that turn your investment into a frustrating problem. This guide breaks down the professional vinyl plank flooring installation process, so you understand exactly what proper installation looks like and why it matters for your Contra Costa County home.
What Makes Professional Vinyl Plank Installation Different
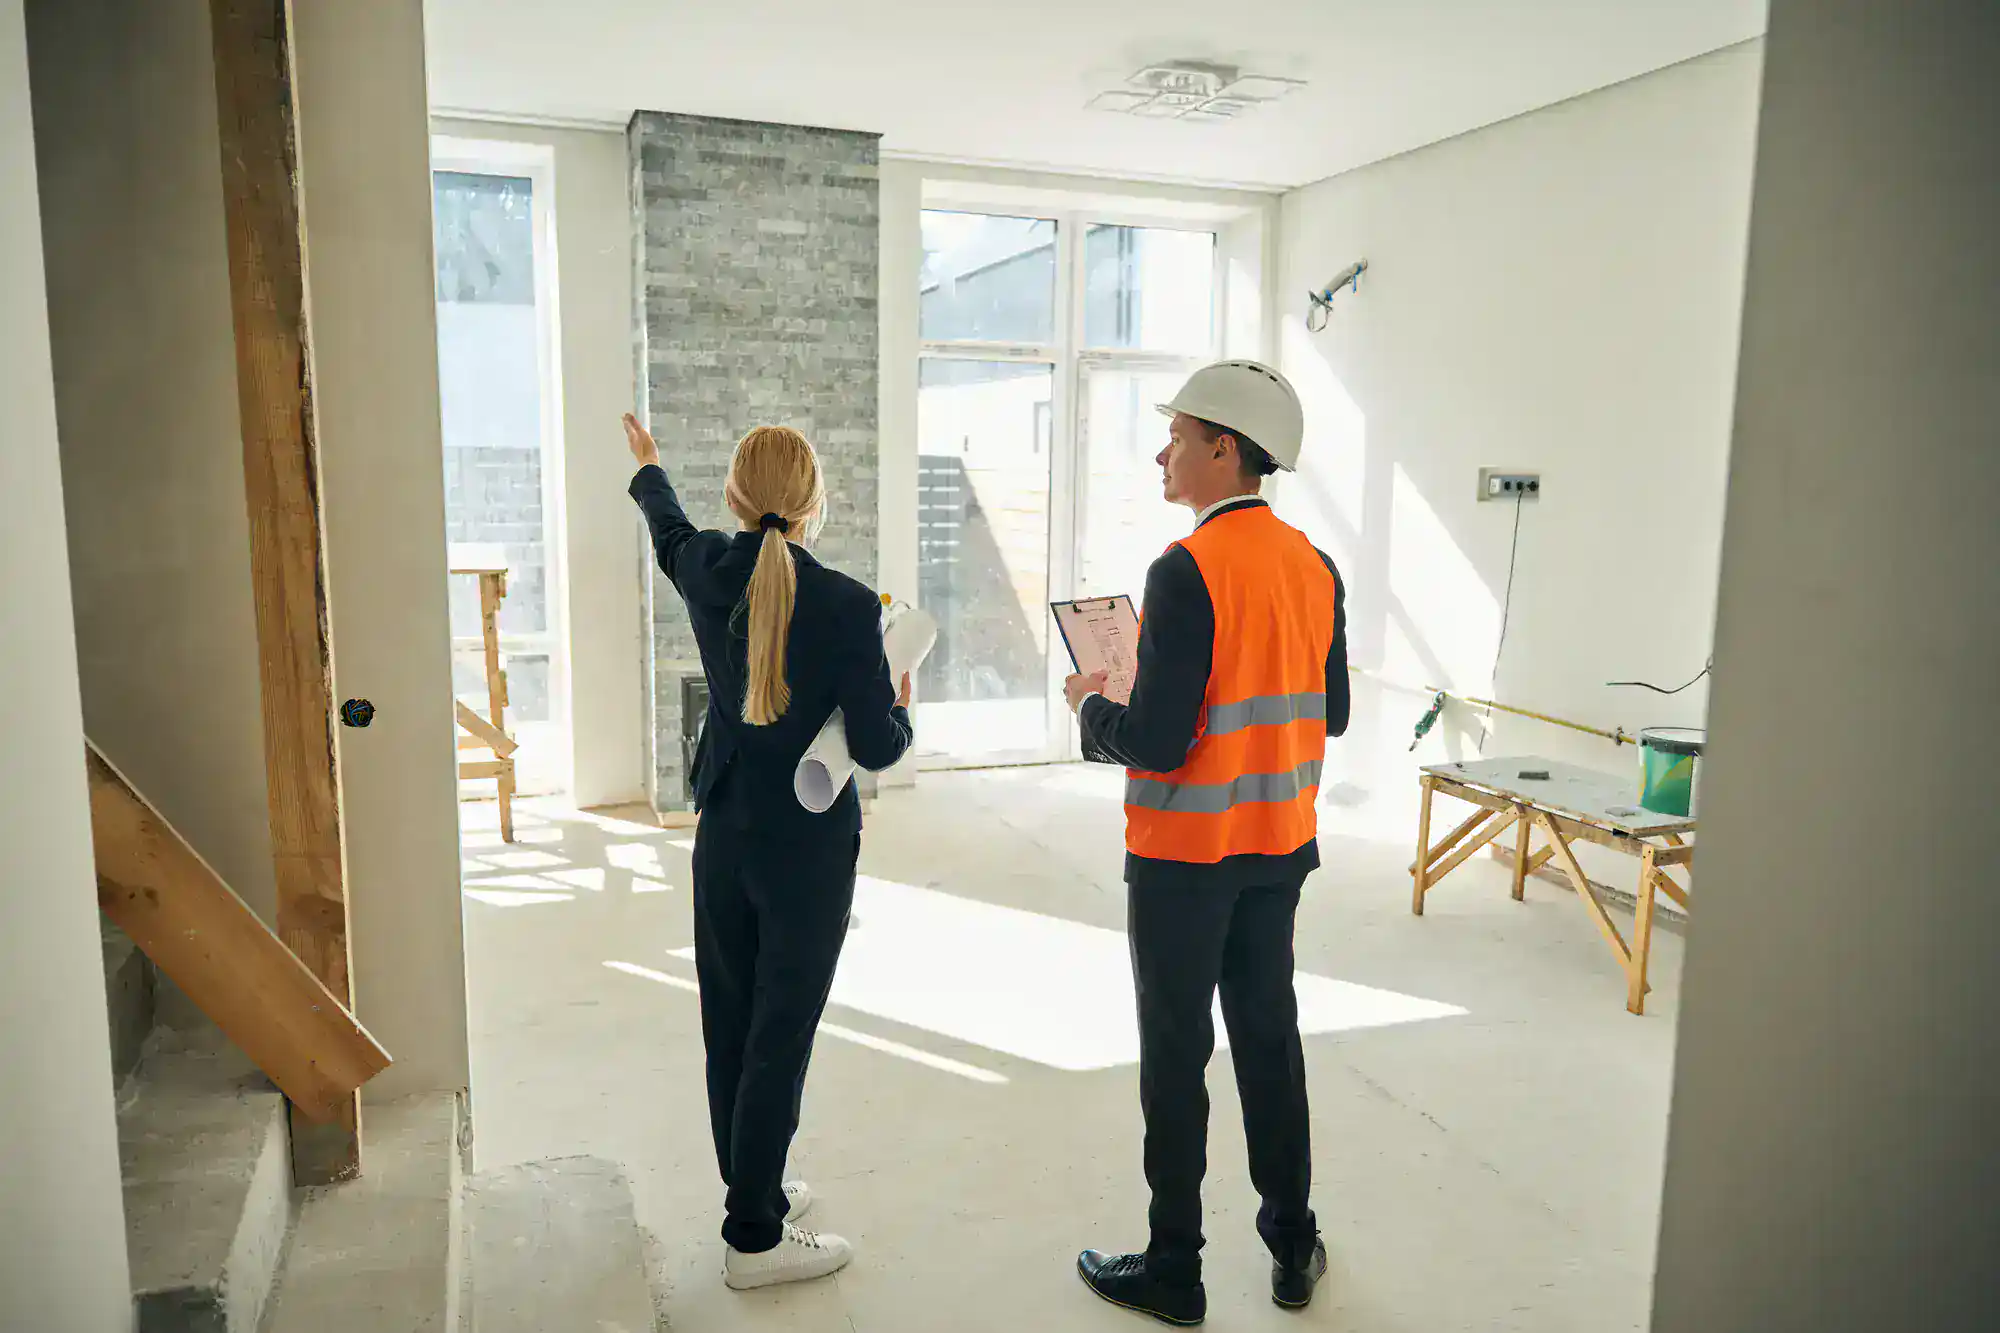
Professional vinyl plank flooring installation starts long before the first plank touches your floor. We know that what happens beneath the surface determines everything you see above it.
The process begins with a thorough assessment of your existing subfloor. Not a quick glance—an actual inspection with levels, moisture meters, and the kind of attention that catches problems before they become failures. We check for levelness within specific tolerances, test moisture content, identify structural issues, and plan the installation to avoid the mistakes that cause most vinyl floors to fail.
This upfront work takes time. It’s not as exciting as watching your new floor go down. But it’s the difference between flooring that looks great for two decades and flooring that starts showing problems within two years.
Subfloor Preparation Requirements for Vinyl Flooring
Your subfloor needs to meet specific standards before vinyl plank installation can begin. Most vinyl plank products require the subfloor to be within 3/16 inch in 10 feet or 1/8 inch in 6 feet. That’s not a suggestion—it’s a requirement that directly impacts how your floor performs.
An uneven subfloor creates stress points where planks connect. Walk across these areas repeatedly, and you’ll hear clicking, feel movement, or see planks separate at the seams. The vinyl itself might be waterproof and durable, but if it’s installed over bumps, dips, or debris, those imperfections transfer through the flooring.
Professional preparation means removing old flooring materials completely when necessary. Carpet, padding, tack strips, staples—everything comes out. The subfloor gets swept, vacuumed, and inspected for damage. High spots get sanded down. Low spots get filled with leveling compound. Loose boards get secured. Every detail matters because vinyl plank flooring is only as stable as what’s underneath it.
Moisture testing is non-negotiable, especially over concrete subfloors. Even waterproof vinyl can fail if moisture vapor pushes up from below, preventing adhesive from bonding or causing planks to cup. We use moisture meters to verify readings stay within manufacturer specifications. If moisture levels run too high, the installation stops until the problem gets addressed. No exceptions.
Wood subfloors bring different challenges. The plywood needs to be firmly attached without squeaks or movement. Gaps between sheets get filled. Nail heads get sunk below the surface. In many cases, adding a quarter-inch plywood underlayment creates the smooth, stable base that vinyl flooring needs. This extra layer prevents nail pops, uneven joints, and other subfloor imperfections from telegraphing through your finished floor.
The preparation phase isn’t glamorous. It’s dusty, time-consuming work that homeowners rarely see in before-and-after photos. But skip it, and you’re setting yourself up for problems that no amount of beautiful vinyl can fix.
Material Acclimation and Environmental Controls
Vinyl plank flooring needs time to adjust to your home’s temperature and humidity before installation. This acclimation period—typically 48 to 72 hours—allows the planks to expand or contract to match the conditions where they’ll be installed permanently.
Skip this step, and you’re gambling with expansion and contraction that happens after installation instead of before. Planks that expand after being locked together have nowhere to go. They push against walls, buckle upward, or create pressure that damages the locking mechanisms. Planks that contract leave gaps between boards that shouldn’t exist.
We bring materials into the installation area days before work begins. The planks stay in the room, out of the packaging, with air circulating around them. The temperature stays consistent—not left unheated or without climate control. This simple step prevents a significant percentage of post-installation failures.
The room itself needs to maintain stable conditions during and after installation. Vinyl flooring performs best when temperatures stay between 60 and 80 degrees Fahrenheit with relative humidity between 30 and 65 percent. Extreme swings outside these ranges stress the material and the installation. Vacation homes left unheated in winter or uncooled in summer often develop gaps or buckling because the environmental conditions exceeded what the flooring was designed to handle.
We plan installations around weather, heating, and cooling. We don’t install vinyl in rooms that can’t maintain stable temperatures. We educate homeowners about keeping climate control running during and after installation. These aren’t minor details—they’re fundamental to long-term performance.
Moisture barriers add another layer of protection, especially over concrete subfloors or in areas prone to dampness. Even though vinyl itself resists water, moisture vapor moving through concrete can prevent adhesive from bonding properly or create conditions that lead to mold growth beneath the flooring. Professional installations include vapor barriers when needed, not when convenient.
Vinyl Flooring Installation Process Step by Step
Once preparation is complete, the actual installation follows a systematic process designed to create a stable, long-lasting floor. We don’t just start laying planks from one wall and work across the room. We plan the layout to avoid narrow planks along visible walls, minimize waste, and create a balanced appearance.
Layout planning happens before the first plank gets cut. We measure the room and calculate how many rows of full-width planks will fit. If the final row would be less than three inches wide, we adjust the first row to balance things out. The goal is avoiding tiny slivers of flooring along walls where they’ll look awkward and perform poorly.
Planks run parallel to the longest wall or toward the main light source in most installations. This creates visual flow and makes rooms feel larger. The direction matters more than most homeowners realize—it affects how light plays across the floor and how your eye moves through the space.
Proper Installation Techniques That Prevent Failures
The first row sets the foundation for everything that follows. We use spacers to maintain a quarter to half-inch expansion gap between the flooring and all walls. This gap is essential—vinyl expands and contracts with temperature changes, and without room to move, it buckles or lifts.
Planks connect through click-lock systems or adhesive, depending on the product. Click-lock installations require precise angles and pressure to engage the locking mechanisms without damage. Too much force cracks the tongues. Too little leaves gaps. We use tapping blocks and pull bars designed specifically for vinyl plank installation—not hammers or improvised tools that damage the material.
Staggering seams creates strength and visual appeal. End joints should be offset by at least six to eight inches from row to row. This prevents weak points where multiple seams line up and creates a more natural, random appearance that mimics real hardwood. We pull planks from multiple boxes to mix variations in color and grain pattern, avoiding the repetitive look that screams “fake.”
Cutting planks requires the right tools and techniques. Utility knives work for straight cuts, but doorways, corners, and obstacles need more precision. We use jigsaws, oscillating multi-tools, or specialized vinyl cutters to create clean edges without chipping or cracking the material. Every cut gets measured twice. Mistakes waste material and delay the project.
Transitions between rooms and different flooring types need proper planning. Vinyl plank flooring can’t run continuously from room to room without expansion gaps at doorways. Transition strips cover these gaps while allowing the flooring to move independently in each space. The strips get installed according to manufacturer specifications—some snap in, others screw down, all require precise measurement and cutting.
Underlayment decisions depend on the product and subfloor. Many luxury vinyl planks include attached underlayment, but adding a separate layer can improve sound control and comfort. We follow manufacturer recommendations rather than making assumptions. Using the wrong underlayment or skipping it when required voids warranties and creates problems.
Quality Control and Final Details
Professional installation includes quality checks throughout the process, not just at the end. We use levels to verify the floor stays flat as work progresses. We check for gaps between planks, test the locking mechanisms, and ensure expansion gaps remain consistent around the perimeter.
Rolling the floor with a weighted roller helps glue-down installations achieve proper adhesive transfer. The roller forces vinyl into full contact with the adhesive, eliminating air pockets and ensuring strong bonds. This step happens in sections as work progresses, not as an afterthought when the entire floor is down.
Baseboards and trim get reinstalled after the flooring is complete. The trim covers expansion gaps while allowing the floor to move beneath it. Nails go through the baseboard into the wall—never through the flooring itself. Pinning the floor prevents the expansion and contraction it needs, creating the same buckling problems that missing expansion gaps cause.
Final cleanup removes dust, adhesive residue, and installation debris. We protect your furniture and belongings throughout the process, not just during demolition. We use floor protection products when moving heavy items back into place, preventing scratches and dents on your brand-new floor.
The installation isn’t complete until you understand how to maintain your new vinyl plank flooring. We explain cleaning methods, what products to avoid, and how to address minor issues before they become major problems. Steam mops, abrasive cleaners, and harsh chemicals can damage the wear layer that protects your floor. Simple sweeping and damp mopping with manufacturer-approved cleaners keeps vinyl looking great for years.
Warranties require following manufacturer guidelines for installation and maintenance. We document our work, provide warranty information, and explain what’s covered versus what’s not. This protects your investment and gives you recourse if problems develop that shouldn’t.
Choosing Professional Installation for Long-Term Results
Vinyl plank flooring offers incredible value when installed correctly. You get waterproof protection, authentic hardwood aesthetics, and durability that handles everything daily life throws at it. But the “when installed correctly” part carries more weight than most homeowners realize until they’re dealing with buckling, gapping, or cupping that shouldn’t exist.
Professional installation costs more than DIY attempts, but it eliminates the 80% failure rate that comes from improper subfloor preparation, skipped moisture testing, inadequate acclimation, and installation mistakes. Experienced contractors understand the requirements that protect your investment. We know when to stop and address problems rather than covering them up. We follow manufacturer specifications because we’ve seen what happens when you don’t.
For Contra Costa County homeowners investing in vinyl plank flooring, working with us at DoPro Construction means getting installation done right the first time. With over 40 years of combined experience, dual licensing, and a commitment to quality that shows in every detail, we understand what proper installation looks like and why it matters for your home.