Summary:
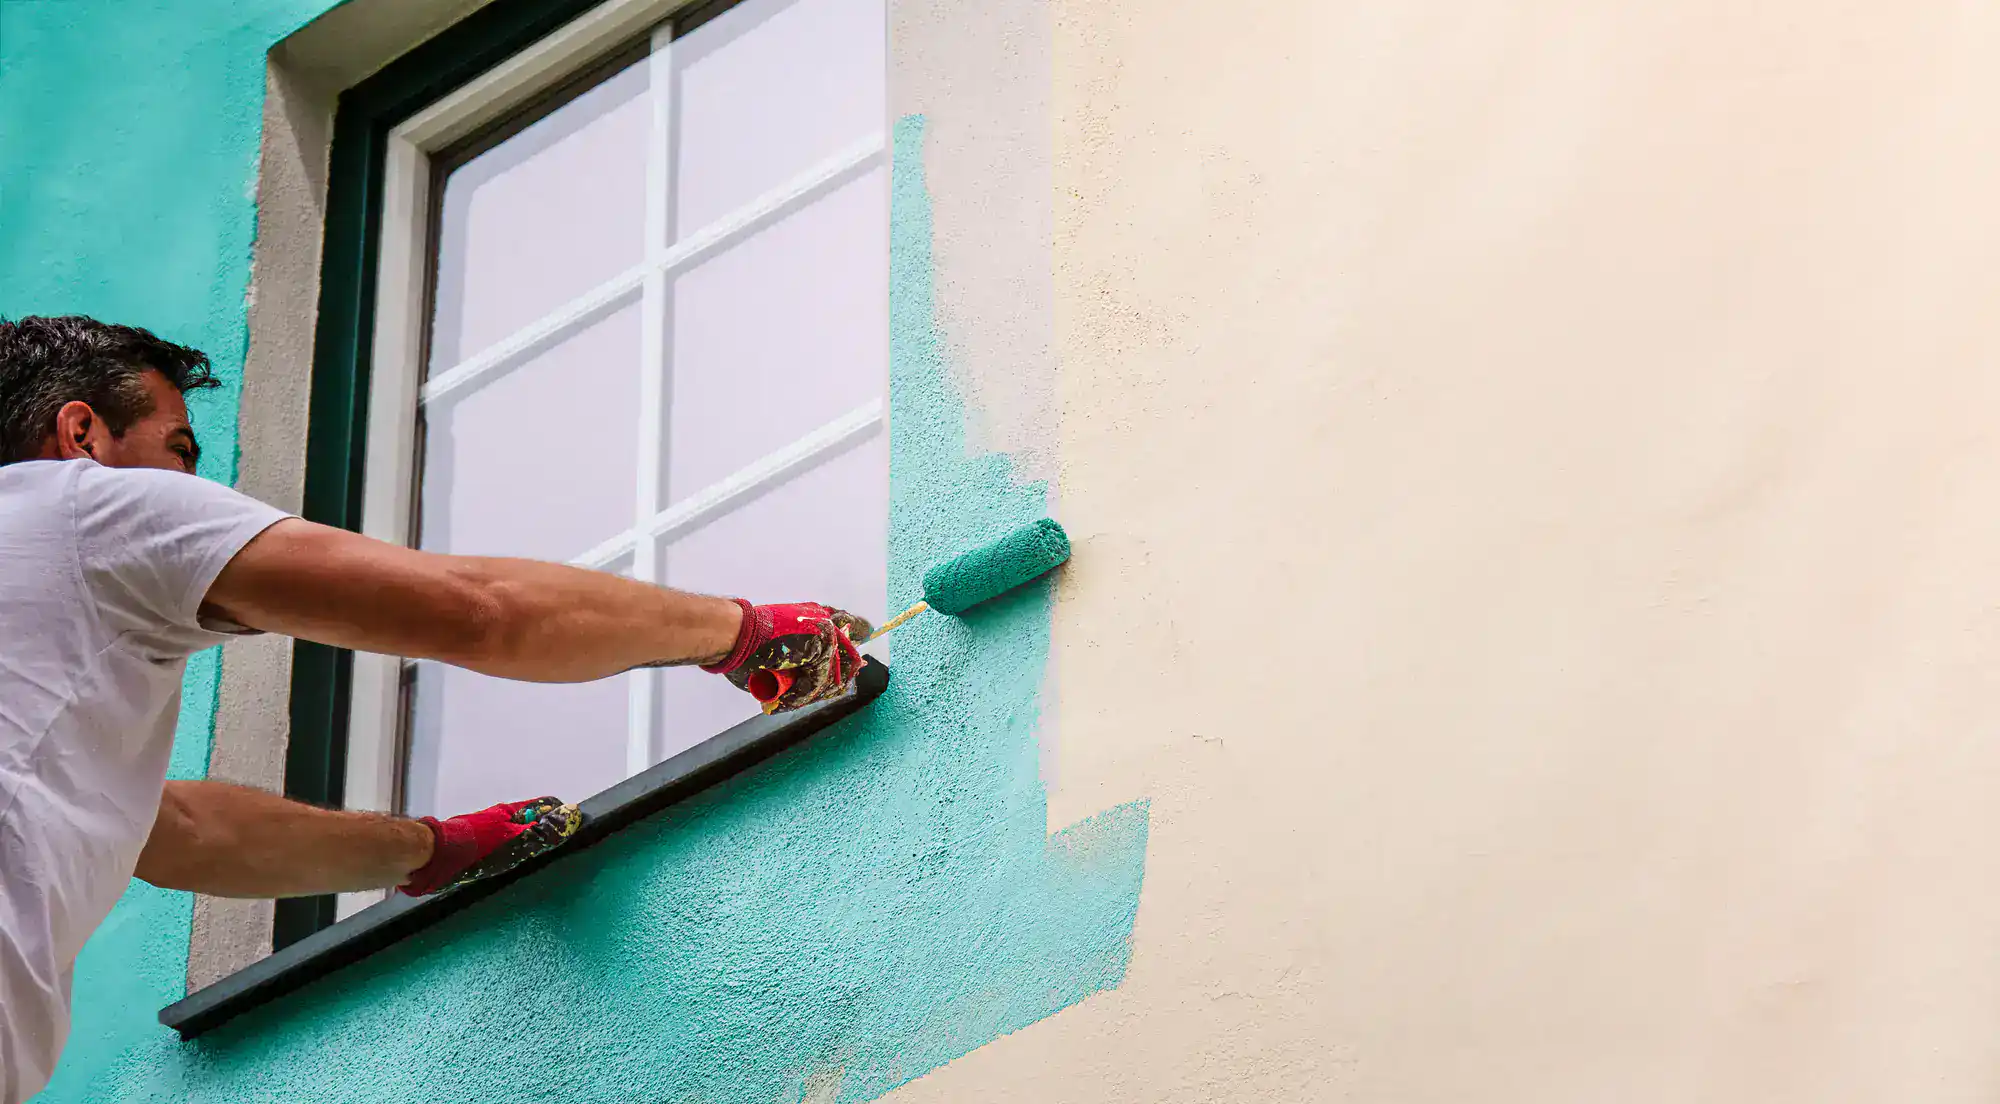
Why High-Contrast Exterior Paint Techniques Matter for Curb Appeal
High-contrast trim isn’t about chasing trends. It’s about creating definition that makes your home’s architecture stand out instead of blend in. When you paint window trim, fascia, or door frames in a dramatically different shade than your siding, you’re framing your home’s best features—something often achieved with professional exterior and interior painting services.
Think about it like this: light-colored exteriors are forgiving. Slightly uneven coats, small drips, less-than-perfect prep—they all disappear into soft whites and warm beiges. Dark trim accents don’t offer that luxury. Every brush mark, every spot where primer shows through, every place where old paint wasn’t fully scraped becomes visible in afternoon sun.
That’s exactly why it works. The precision required for dark trim forces better craftsmanship, and the result looks intentional and high-end.
How Dark Trim Accents Change Your Home's Appearance
Dark colors absorb light instead of reflecting it. When you paint trim in charcoal or black, you create shadows and depth that make windows appear larger, architectural lines stronger, and your whole exterior more dimensional.
This works particularly well on homes with strong bones. Craftsman-style homes in Oakland or Berkeley gain instant presence when wide trim boards go dark instead of disappearing into light siding. Modern farmhouses throughout Contra Costa County, CA get that designer edge when black window frames replace builder-grade white. Even simpler ranch-style homes feel more intentional when you add dark accents strategically.
Balance is everything. Too much dark trim makes a home feel heavy, especially if your siding is also medium or dark. The most successful high-contrast exteriors pair dark trim with lighter body colors—warm whites, soft greiges, pale sage. The light body keeps things open and welcoming while dark trim adds structure.
In Contra Costa County, CA and Alameda County, CA, where California sun is intense most of the year, this balance matters even more. Dark trim in full sun can appear almost black regardless of the actual color you chose. What looks like soft charcoal on a paint chip might read as pure black on your west-facing wall at 3 PM in July. Testing colors on your actual exterior, at different times of day, shows you what you’re really going to live with.
Monochromatic facades take a different approach. Instead of pairing light and dark, you use the same color family but vary the sheen. Matte siding with semi-gloss trim in the same tone creates subtle definition through light reflection rather than color contrast. This technique feels more understated and European, and it’s growing in popularity for homeowners who want modern without bold.
The finish you choose matters as much as the color. Semi-gloss and satin sheens are standard for trim because they’re durable and cleanable. But they also reflect light, which can make imperfections more visible. On dark colors, that reflection can create an almost metallic look. We now use satin instead of semi-gloss on dark exterior trim—you get durability without the high shine that can look plasticky on deep colors.
Weather-Resistant Coatings That Actually Last in Bay Area Climates
Bay Area weather quietly destroys exterior paint if you don’t choose the right products. You don’t get dramatic freeze-thaw cycles or hurricane winds, but you do get intense UV exposure, coastal moisture, and temperature swings between foggy mornings and hot afternoons.
Weather-resistant coatings for exterior paint need to do three things: block UV rays, repel moisture, and flex with temperature changes. Standard paint doesn’t cut it for high-contrast trim that gets scrutinized every time someone looks at your home.
Acrylic latex paint has become the go-to for California exteriors because it handles all three challenges. The acrylic resin blocks UV, preventing color fade and paint breakdown. Latex formulations stay flexible as temperatures change, so paint expands and contracts with your trim instead of cracking. Modern acrylic latex includes mildew-resistant additives that matter when morning fog sits on your trim for hours.
For dark trim specifically, you want paint with high-quality pigments. Cheaper paints use less pigment and more filler. The color fades faster under UV. On white siding, slight fading might not show for years. On black trim, fading to dark gray happens fast and looks sloppy. Premium exterior paint costs more per gallon but holds color dramatically longer.
UV-resistant additives make the biggest difference on south and west-facing trim—the exposures that get blasted by afternoon sun year-round in Walnut Creek, Danville, or Fremont. Without UV protection, even good paint will start chalking, developing a powdery surface that means the resin has broken down. Once that starts, paint isn’t protecting your trim anymore, and moisture gets in behind it.
Moisture resistance isn’t just about rain. It’s fog, dew, sprinkler overspray, and moisture that naturally moves through wood. Trim around windows and doors is especially vulnerable because water runs down from above and sits in horizontal surfaces. Weather-resistant coatings create a barrier that prevents water from soaking into wood, which prevents rot, warping, and the peeling that happens when moisture gets trapped under paint.
The flexibility of modern acrylic solves a problem that used to plague exterior trim: seasonal movement. Wood expands when hot and humid, contracts when cool and dry. Old oil-based paints cracked under this stress because they became brittle. Acrylic latex stays flexible for years, moving with the wood. This is especially important on dark trim, where any crack or split is immediately visible.
Professional spray finishing has become the preferred method for high-contrast trim, and it’s not just about speed. Spraying creates a smoother, more uniform finish than brushing or rolling. No brush marks. No roller stipple. On dark colors, brush marks catch light differently and create visible lines. Spray application eliminates that entirely.
Spraying also allows better control of coat thickness. One of the biggest mistakes is applying paint too thick. Thick coats take longer to dry, are more likely to sag, and actually don’t last as long as properly applied thin coats. We apply multiple thin coats, letting each dry fully. The result is a harder, more durable finish that resists chipping and wear.
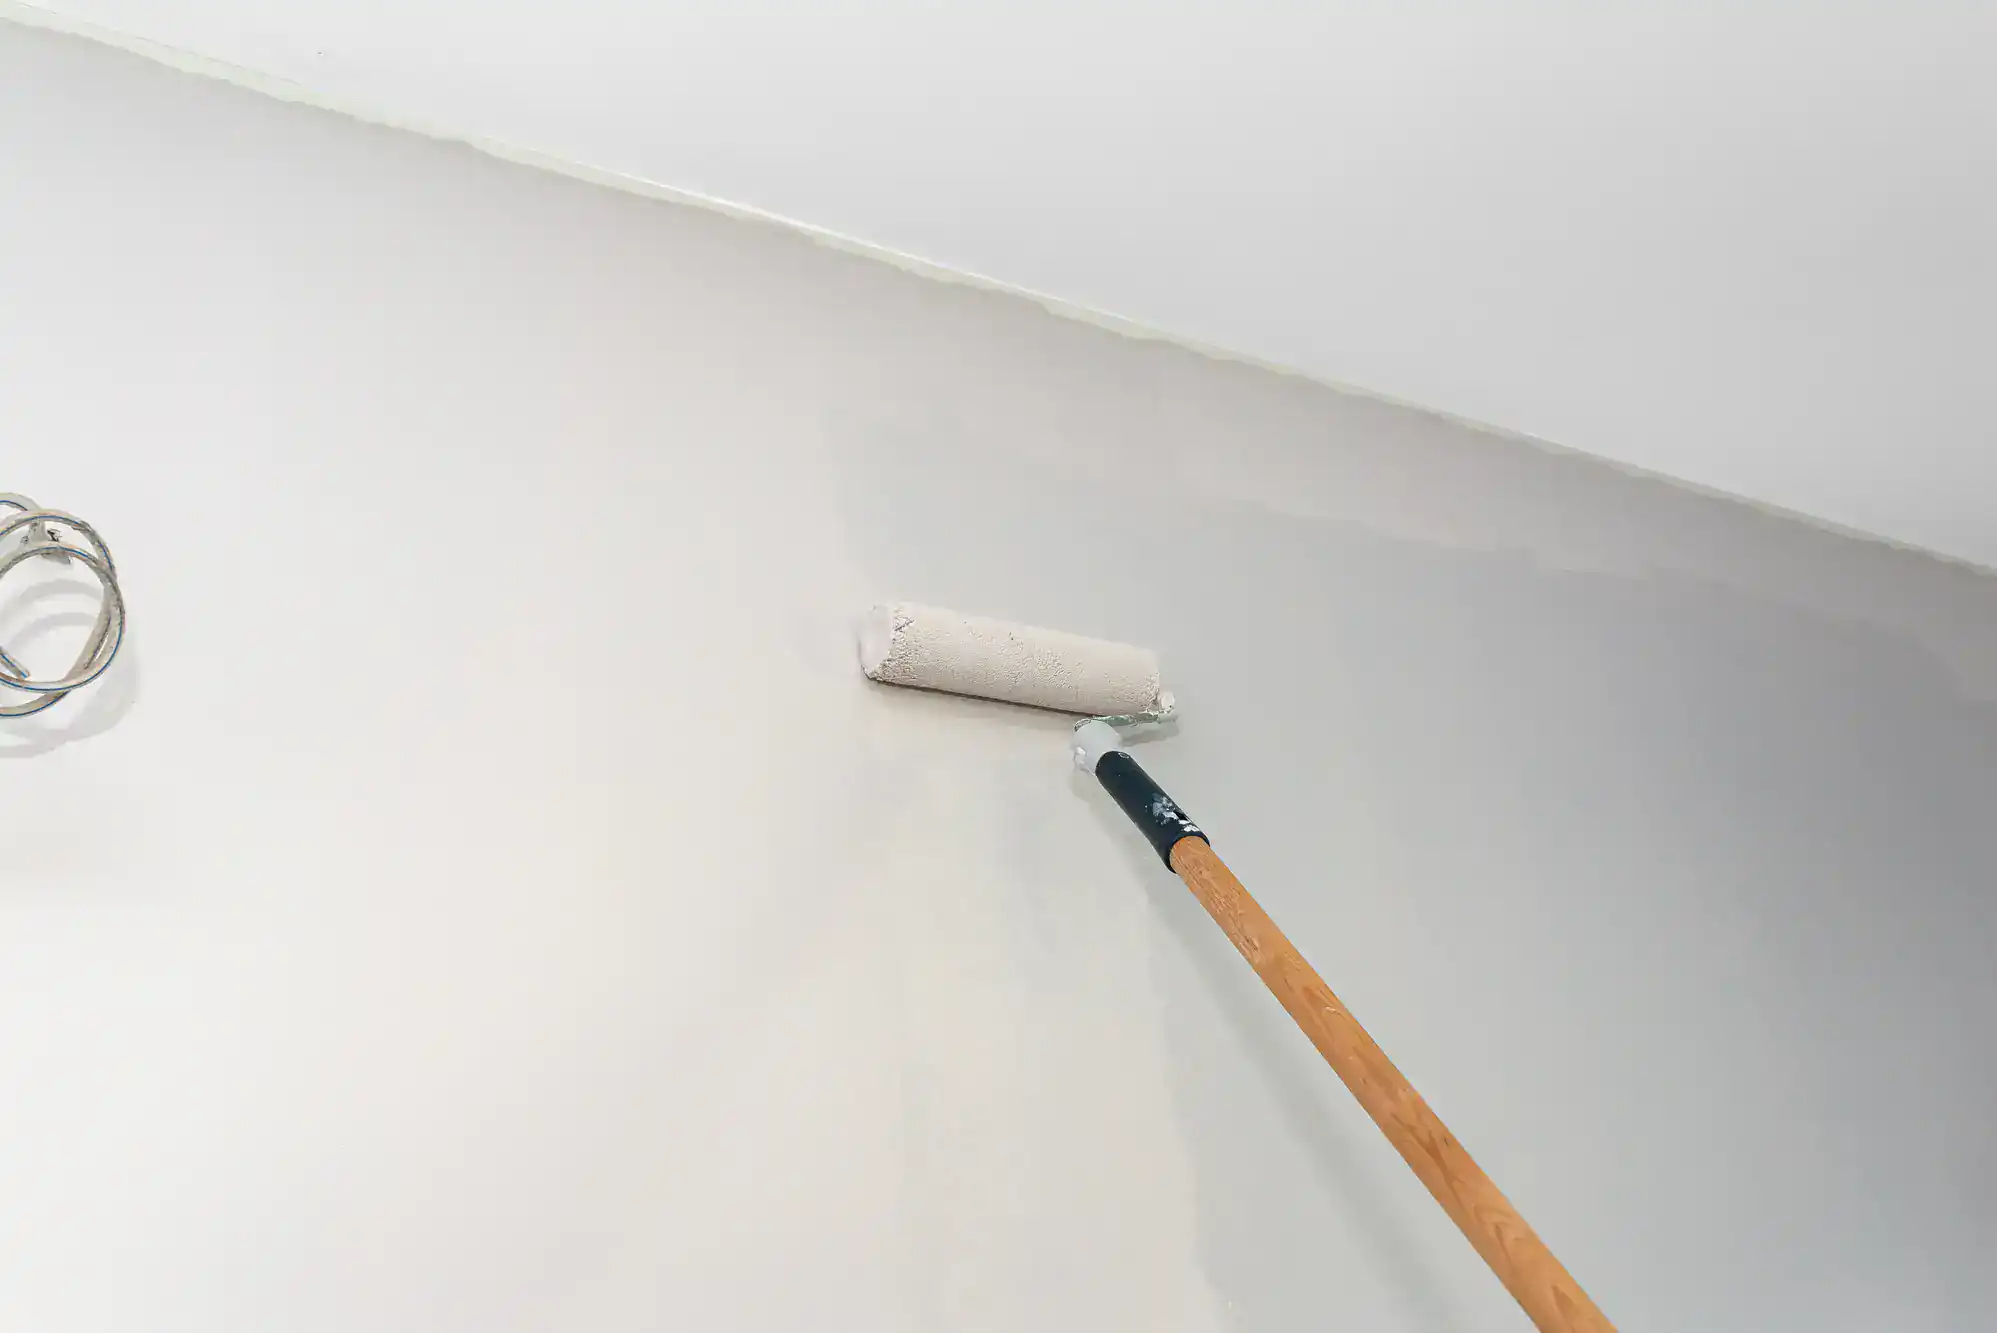
Surface Preparation Techniques for Long-Lasting Exterior Paint
Every painting professional says the same thing: the finish is only as good as the prep. On high-contrast trim, where dark colors reveal every flaw, surface preparation isn’t just important—it’s everything.
Proper prep starts with cleaning. Trim accumulates dirt, pollen, mildew, and chalky residue from old paint. Paint won’t stick to dirty surfaces. Power washing is common, but it needs care. Too much pressure damages wood or forces water where it shouldn’t go. A gentler wash with the right cleaning solution removes grime without creating new problems.
Then comes the real work: scraping, sanding, and filling. Any loose or peeling paint has to come off completely. You can’t paint over it and hope new paint holds it down. It won’t. Peeling continues under your fresh coat, and within a year you have new peeling in the same spots.
How to Properly Prime Trim Before Painting Dark Colors
Primer is not optional for exterior trim, especially when going dark. It’s the foundation that makes everything else work. But not all primers are equal, and using the wrong one is almost as bad as skipping it.
Primer creates a uniform surface that paint can grip. Bare wood is porous and absorbs paint unevenly, leading to blotchy color and poor coverage. Old painted surfaces might be glossy or have contaminants that prevent new paint from sticking. Primer solves both by sealing the surface and providing a consistent base.
For dark trim colors, tinted primer makes a huge difference. Painting black trim over white with white primer might need three or four coats for full coverage. With gray-tinted primer, two coats of finish color usually does it. That saves time, saves paint, and results in a more durable finish because you’re not building up excessive thickness.
Stain-blocking primers matter when working with wood trim, especially older wood that might have tannins or previous staining. Tannins bleed through regular primer and discolor your finish coat, creating yellowish or brownish spots on your black trim. Good stain-blocking primer prevents that bleed-through entirely.
The primer type depends on what you’re painting over. Oil-based primers provide the best adhesion and stain-blocking, but they’re harder to work with and require mineral spirits for cleanup. Water-based primers are easier to use and clean up with soap and water, but don’t block stains as well. For most exterior trim in good condition, high-quality acrylic primer works great. For problem areas—knots in wood, old stains, surfaces that have had peeling—oil-based or shellac-based primer is worth the extra effort.
Application technique matters with primer just as much as finish coats. Brushing primer into wood grain, into cracks, into joints ensures it gets everywhere. Spraying is faster and creates a smooth surface, but it can miss spots. We often brush primer on trim, especially around windows and doors where thorough coverage in tight spots is critical.
Drying time is not curing time, and this trips up DIY painters. Primer might feel dry to touch in an hour, but it’s not fully cured and ready for paint. Rushing to apply finish coat before primer is ready leads to poor adhesion and can cause finish coat to pull or peel. Following manufacturer’s recommended drying time isn’t a suggestion—it’s essential for paint that lasts.
Sanding between primer and finish coat is a step many skip, but it makes a visible difference on dark trim. Primer can raise grain on wood or create slightly rough texture. Light sanding with fine-grit sandpaper (220-grit works) smooths the surface so finish coat goes on glass-smooth. On dark colors, any texture or roughness shows as dull spots or uneven sheen. Taking fifteen minutes to sand makes your final finish look professional instead of DIY.
Professional Spray Finishing vs. Brush Application for Trim
The application method you choose for high-contrast trim dramatically affects the final appearance. Brush and roller work has its place, but for the smooth, factory-like finish that makes dark trim look expensive, professional spray finishing is hard to beat.
Spraying creates a finish without brush marks, roller stipple, or lap lines. Paint goes on in a fine mist that levels as it dries, resulting in uniform surface that reflects light evenly. On light colors, minor variations in texture might not be noticeable. On dark colors, every brush stroke shows as slightly different sheen or texture. Spraying eliminates that.
But spraying isn’t as simple as pointing a gun and pulling a trigger. Proper technique requires maintaining the right distance from surface (usually 10-12 inches), moving at consistent speed, and overlapping each pass by about 50%. Too close and you get runs and sags. Too far and paint dries before hitting surface, creating rough, sandy texture. Too slow and you apply too much. Too fast and you get thin, streaky coverage.
Pressure settings matter, especially when working with different surfaces. Smooth trim might spray perfectly at one pressure, but if you move to rough-sawn siding without adjusting, you’ll either waste paint on overspray or get inadequate coverage. We adjust pressure, tip size, and spray pattern throughout a job to match what we’re painting.
Masking and protection become critical with spray application. Overspray travels farther than most expect, and dark paint overspray on light siding is a nightmare to remove. Thorough masking of windows, siding, and any surfaces you’re not painting takes time, but it’s time well spent. Plastic sheeting, quality painter’s tape, and careful technique prevent problems that turn a good paint job into a frustrating cleanup project.
Brush application still has its place, particularly for cutting in around windows, painting small trim pieces, or working in tight spaces where spraying isn’t practical. High-quality angled brushes, loaded properly and used with the right technique, create clean lines and smooth finishes. The key is using the right brush for the job—cheap brushes with bristles that fall out or don’t hold enough paint make even simple trim work frustrating.
The biggest advantage of brush work is control. You can work paint into crevices, around hardware, and into detailed trim profiles in ways spraying can’t match. For window muntins, door panel molding, or decorative trim with lots of detail, brushing ensures complete coverage in all the nooks and crannies.
Combining techniques often produces the best results. Spray the large, flat trim surfaces for that smooth finish, then use a brush to cut in edges, work around obstacles, and ensure complete coverage in detailed areas. This hybrid approach gives you efficiency and finish quality of spraying with precision and thoroughness of brushing.
Getting Professional Results with Your Exterior Paint Project
High-contrast trim transforms curb appeal when it’s done right. The techniques we’ve covered—proper surface prep, quality weather-resistant coatings, correct priming, and professional application—separate trim that looks great for a decade from trim that starts failing in two years.
Dark trim accents show quality, both good and bad. Shortcuts in prep, cheap materials, or rushed application become obvious within months. But when you invest in doing it properly, the results speak for themselves every time you come home.
If you’re in Contra Costa County, CA or Alameda County, CA and ready to elevate your home’s exterior with modern high-contrast trim, we bring the expertise and attention to detail that makes the difference. With over four decades of combined experience and our Never Get Burnt Guarantee, you can move forward with confidence knowing your exterior paint investment will deliver lasting results.