Your garage floor isn’t just concrete. It’s the surface that takes every oil drip, every road salt tracked in from winter trips to Tahoe, every dropped tool, and every temperature swing California throws at it. Over time, that bare concrete cracks, stains, and sheds dust no matter how often you sweep.
You’ve probably noticed the dark spots that never come out. Or the fine gray powder coating your shelves and car. Maybe you’ve even tried a DIY fix that peeled up within a year. The right garage floor coating changes all of that—but only if you choose one that’s actually built to last. Here’s what you need to know about the options available and which ones hold up in real-world conditions.
Garage Epoxy Floor: The Most Common Choice (And Its Limitations)
Epoxy has been the go-to garage floor coating for decades. Walk into any hardware store and you’ll find kits promising professional results for a fraction of the cost. It’s familiar, widely available, and seems straightforward enough for a weekend project.
Here’s the reality. Epoxy works—when it’s applied correctly, on properly prepared concrete, under the right conditions. Professional-grade epoxy systems can deliver good performance for 5-10 years. But most DIY applications fail much sooner, and even high-quality epoxy has limitations that matter in Bay Area garages.
Epoxy Garage Floor Installation: What Actually Goes Wrong
The number one reason garage floor coatings fail has nothing to do with the coating itself. It’s surface preparation. Or rather, the lack of it.
Concrete needs to be porous for epoxy to bond mechanically. That means the surface must be properly profiled—usually through diamond grinding or acid etching—to open up the pores and remove any contaminants. Oil stains, existing sealers, and smooth-troweled finishes all prevent proper adhesion. Skip this step or rush through it, and your coating will peel up within months no matter how expensive the product was.
Moisture is the second major issue. Concrete slabs constantly release vapor from the soil below. Without proper moisture testing and mitigation, that vapor pressure builds beneath the coating and causes bubbling, peeling, or delamination. Professional installers use moisture-mitigating epoxy primers that regulate vapor transmission. Most DIY kits skip this entirely.
Then there’s the application itself. Epoxy requires specific temperature and humidity conditions—typically 60-85°F with humidity below 85%. Apply it when it’s too hot, too cold, or too humid, and you’ll get adhesion problems. The material also needs to be mixed precisely and applied within a limited working window.
Even when everything goes right, epoxy has inherent weaknesses. It yellows when exposed to UV light, which matters if your garage gets sunlight through windows or an open door. Hot-tire pickup is common—the heat from your car tires can soften the coating and pull it right off the concrete. And cure time is slow, often 5-7 days before you can safely park on it.
For Bay Area homeowners, there’s one more consideration. California’s temperature swings cause concrete to expand and contract. Epoxy is relatively rigid, which means it can crack or delaminate when the slab moves. This doesn’t happen immediately, but over years of thermal cycling, it adds up.
When Epoxy Makes Sense (And When It Doesn’t)
Epoxy isn’t a bad choice for every situation. If you have an unlevel floor that needs self-leveling properties, epoxy can be mixed with additives and applied up to 1/8 inch thick. Polyaspartic and polyurea coatings can’t match that in a single application.
Budget is another factor. Professional epoxy installation typically costs $3-$7 per square foot, making it more affordable than premium alternatives. For a 500-square-foot two-car garage, that’s $1,500-$3,500 compared to $3,000-$6,000 for polyaspartic systems.
But here’s where the math gets interesting. That cheaper epoxy will likely need replacement or significant touch-ups within 5-10 years. Factor in the cost of stripping the old coating, repairing any damage, and reapplying, and you might spend more over the life of your home than you would have with a longer-lasting system upfront.
Epoxy makes the most sense when you’re working with a tight budget, planning to sell within a few years, or coating a garage that doesn’t see heavy use. It’s less ideal for high-traffic garages, spaces with significant sun exposure, or situations where you want a truly long-term solution.
The DIY kits sold at big-box stores are even more limited. They use thinner formulations, provide minimal surface prep guidance, and rarely include moisture-mitigating primers. Most professionals can spot a failed DIY epoxy job immediately—the telltale peeling edges, yellowed patches, and tire marks pulled into the coating.
If you’re considering epoxy, the key is understanding what you’re getting. A professionally installed system with proper prep, moisture mitigation, and quality materials will outperform any DIY kit. But even at its best, epoxy has limitations that newer coating technologies have addressed.
Best Garage Floor Coating: Polyaspartic and Polyurea Systems
The garage floor coating market has evolved significantly in recent years. While epoxy dominated for decades, polyaspartic and polyurea systems now represent the professional standard for residential applications. These aren’t just incremental improvements—they’re fundamentally different materials with performance characteristics that address epoxy’s biggest weaknesses.
Polyurea is approximately four times stronger than traditional epoxy. Its chemical structure allows it to remain flexible, moving with the concrete as it expands and contracts with temperature changes. This flexibility prevents the cracking and delamination that rigid coatings experience over time. Polyaspartic is a specific type of polyurea often used as a topcoat, combining that strength with extended working time for installers and superior UV stability.
Why Professional Polyaspartic Systems Outperform DIY Epoxy
The difference between a professional polyaspartic system and a DIY epoxy kit isn’t just about materials. It’s about how the entire system is engineered to work together.
A proper installation starts with mechanical surface preparation using industrial diamond grinders. This creates the concrete profile necessary for maximum adhesion—something acid etching (the method most DIY kits recommend) simply can’t match. The grinding also removes any existing sealers, cures, or contaminants that would prevent bonding.
Next comes a moisture-mitigating epoxy primer. This layer is critical. It penetrates deep into the concrete, regulates vapor transmission from below, and creates a foundation for the rest of the system. Without it, you’re relying entirely on surface adhesion, which is why so many coatings fail when moisture pressure builds.
The decorative flake layer comes next—a full broadcast application that adds texture, hides minor concrete imperfections, and provides slip resistance. This isn’t just aesthetic. The flakes create a mechanical lock that strengthens the entire system.
Finally, polyaspartic topcoats seal everything in. These provide the UV stability, chemical resistance, and abrasion protection that make the floor perform long-term. Quality systems use 100% solids polyaspartic, not blended products with fillers and additives.
The result is a coating system that typically measures 20-30 mils thick (compared to 8-12 mils for most fast-install or DIY systems) and is engineered to handle real-world garage conditions. It resists hot-tire pickup, doesn’t yellow in sunlight, handles chemical spills without staining, and maintains its appearance for 20-30 years in residential settings.
Installation happens in 1-2 days. You can walk on the floor within 6-12 hours and park your car after 24 hours. Compare that to epoxy’s 5-7 day cure time, and the convenience factor becomes obvious.
Garage Flooring Costs: Understanding the Real Investment
Cost is where many homeowners make decisions they later regret. It’s natural to compare price tags and lean toward the more affordable option. But garage flooring isn’t a commodity where all products deliver the same result at different prices.
Professional polyaspartic installation typically runs $6-$12 per square foot in Contra Costa County. For a standard two-car garage (500 square feet), that’s $3,000-$6,000. DIY epoxy kits cost $1.50-$2.50 per square foot in materials, or roughly $750-$1,250 for the same garage.
On the surface, that looks like a significant savings. But here’s what the numbers don’t show. That DIY epoxy will likely need replacement within 2-5 years. When it fails, you’ll need to strip the old coating (a messy, labor-intensive process), repair any damage to the concrete, and start over. Factor in your time, the cost of stripping and disposal, and the materials for round two, and you’re often at or above the cost of professional installation—with a floor that still won’t last as long.
Professional polyaspartic systems, when properly installed, last 20-30 years. That’s the lifespan of your home’s roof. You’re making a one-time investment that protects your concrete and adds value every single day.
There’s also the opportunity cost of downtime. Epoxy takes a week to cure. Polyaspartic is ready in 24 hours. For Bay Area families who use their garage as the main entrance, that matters. You’re not juggling cars in the driveway, blocking your routine, or dealing with fumes for days.
The other factor is what happens when things go wrong. Professional installers warranty their work. If moisture issues cause problems, if the coating doesn’t perform as expected, or if installation defects appear, you’re covered. DIY projects leave you holding the bag—and often facing expensive repairs to fix both the failed coating and any concrete damage that occurred underneath.
When you’re evaluating garage flooring costs, look at the total picture. What’s the cost per year of use? What’s your time worth? What happens if it fails? And what’s the impact on your home’s value? A properly coated garage floor can increase resale appeal and is consistently rated as one of the highest-ROI home improvements you can make.
Choosing the Right Garage Floor Coating for Your Bay Area Home
Your garage floor sees more abuse than almost any other surface in your home. Road salt, oil drips, temperature swings, vehicle weight, and daily use all take their toll on bare concrete. The right coating protects that investment, eliminates maintenance headaches, and transforms your garage into a finished space you’re actually proud of.
The key is choosing a system that’s engineered for how you actually use your garage. Budget epoxy kits might save money upfront, but they rarely deliver long-term value. Professional polyaspartic systems cost more initially but provide decades of performance with minimal maintenance. For most Bay Area homeowners, that math makes sense.
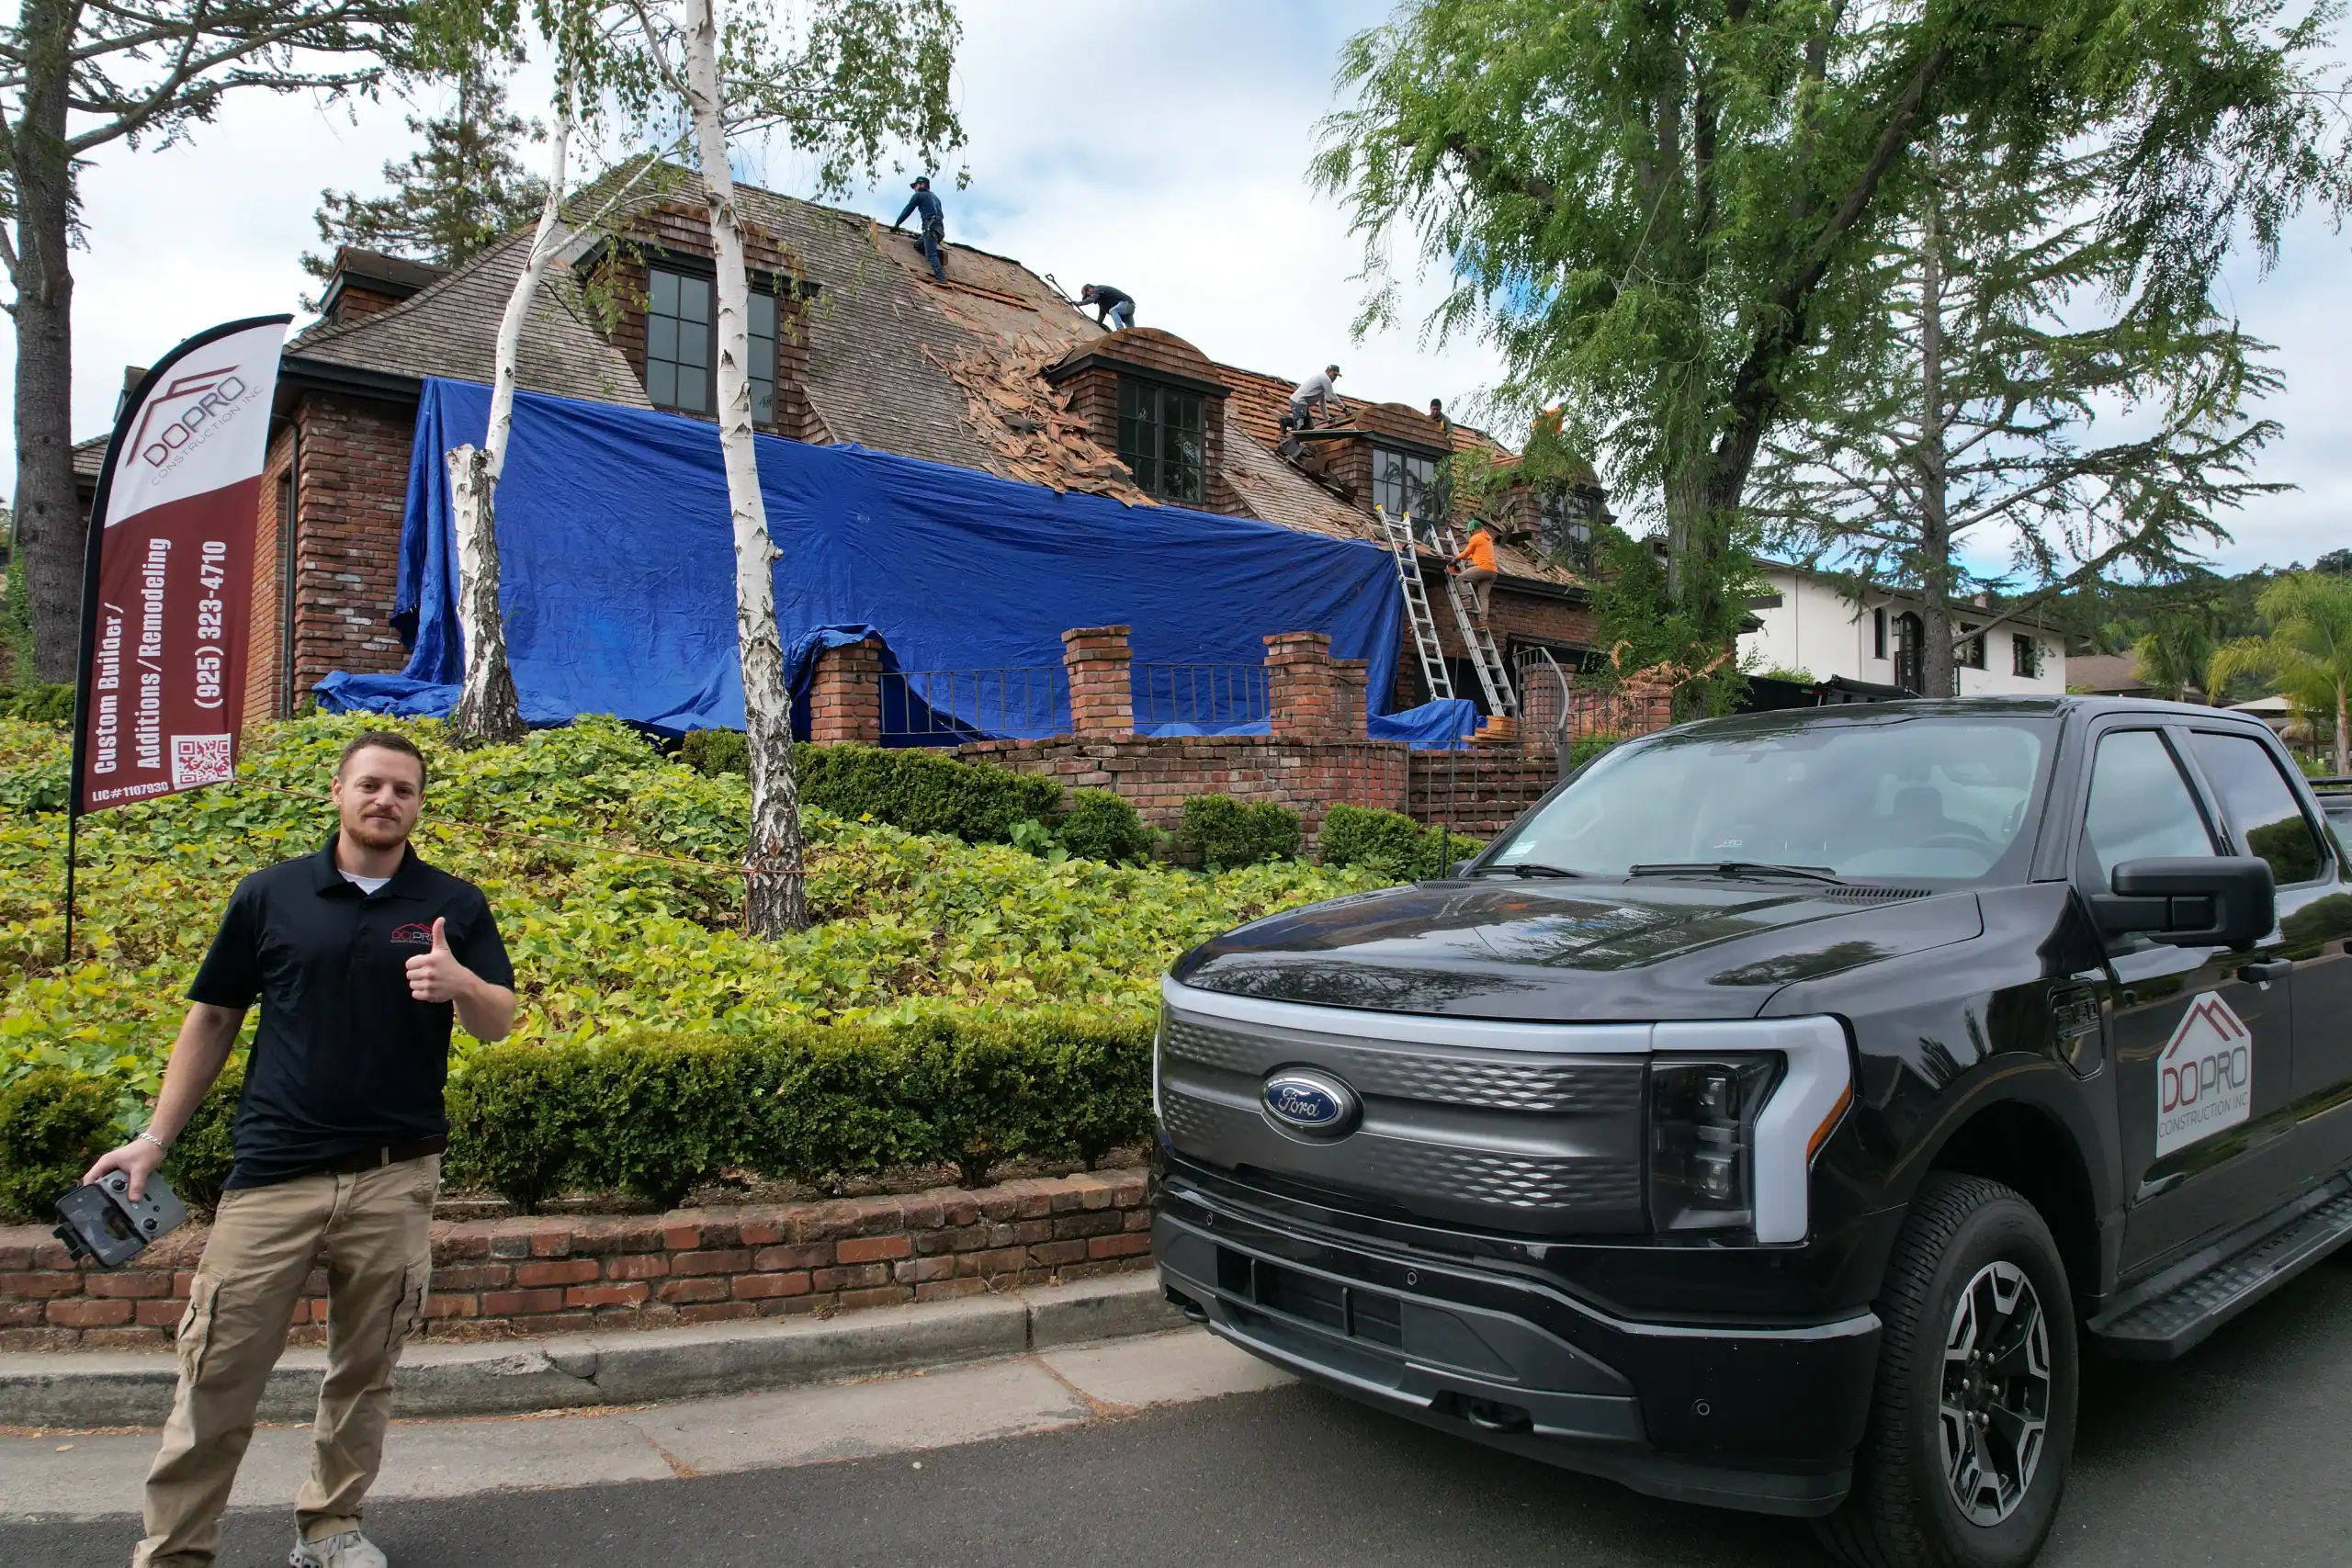
We bring over 40 years of combined experience to garage floor projects throughout Contra Costa County. From surface preparation through final topcoat, every step is handled with the same attention to detail that’s built our reputation. If you’re ready to stop dealing with stained, dusty concrete and want a solution that actually lasts, reach out to us at DoPro Construction.